
Chip-Tools
Coding and configuring PSA modules (Config), VIN change and PIN change
PSA
Interface New
Coding / Adaptations
Medium
⏱ 20-60 min
12 steps
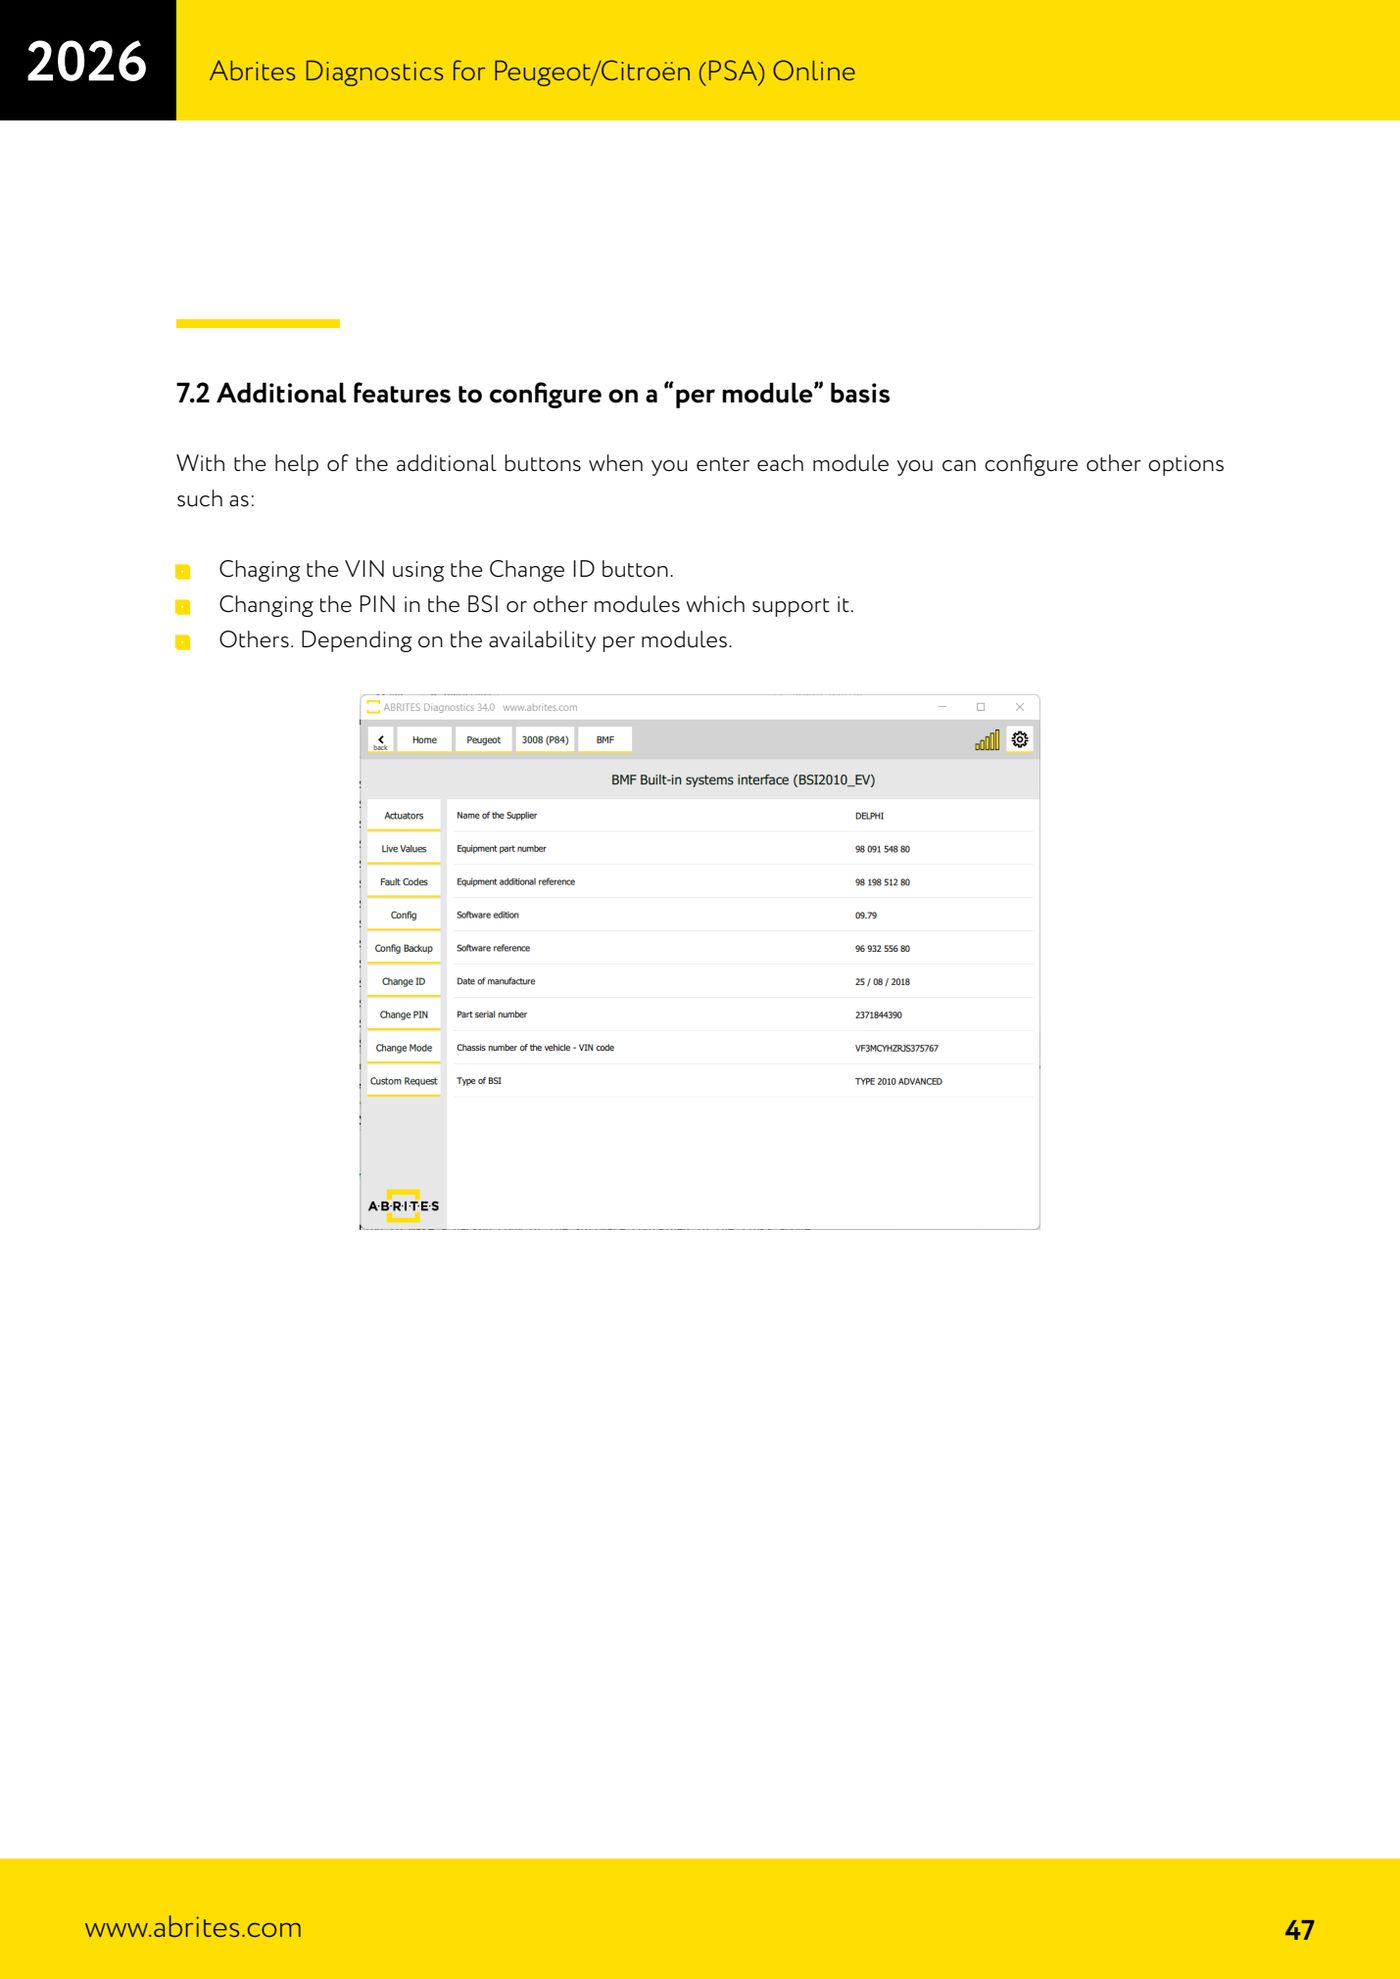
From version 34.0 onwards the PSA Online software offers full configuration of almost every module on modern PSA vehicles: you can enable or disable functions, carry out retrofits so the car behaves as if the change had been made at the factory, change the VIN with "Change ID" and change the PIN in the BSI or in other modules that support it.
Required licences
- —
Hardware / cables

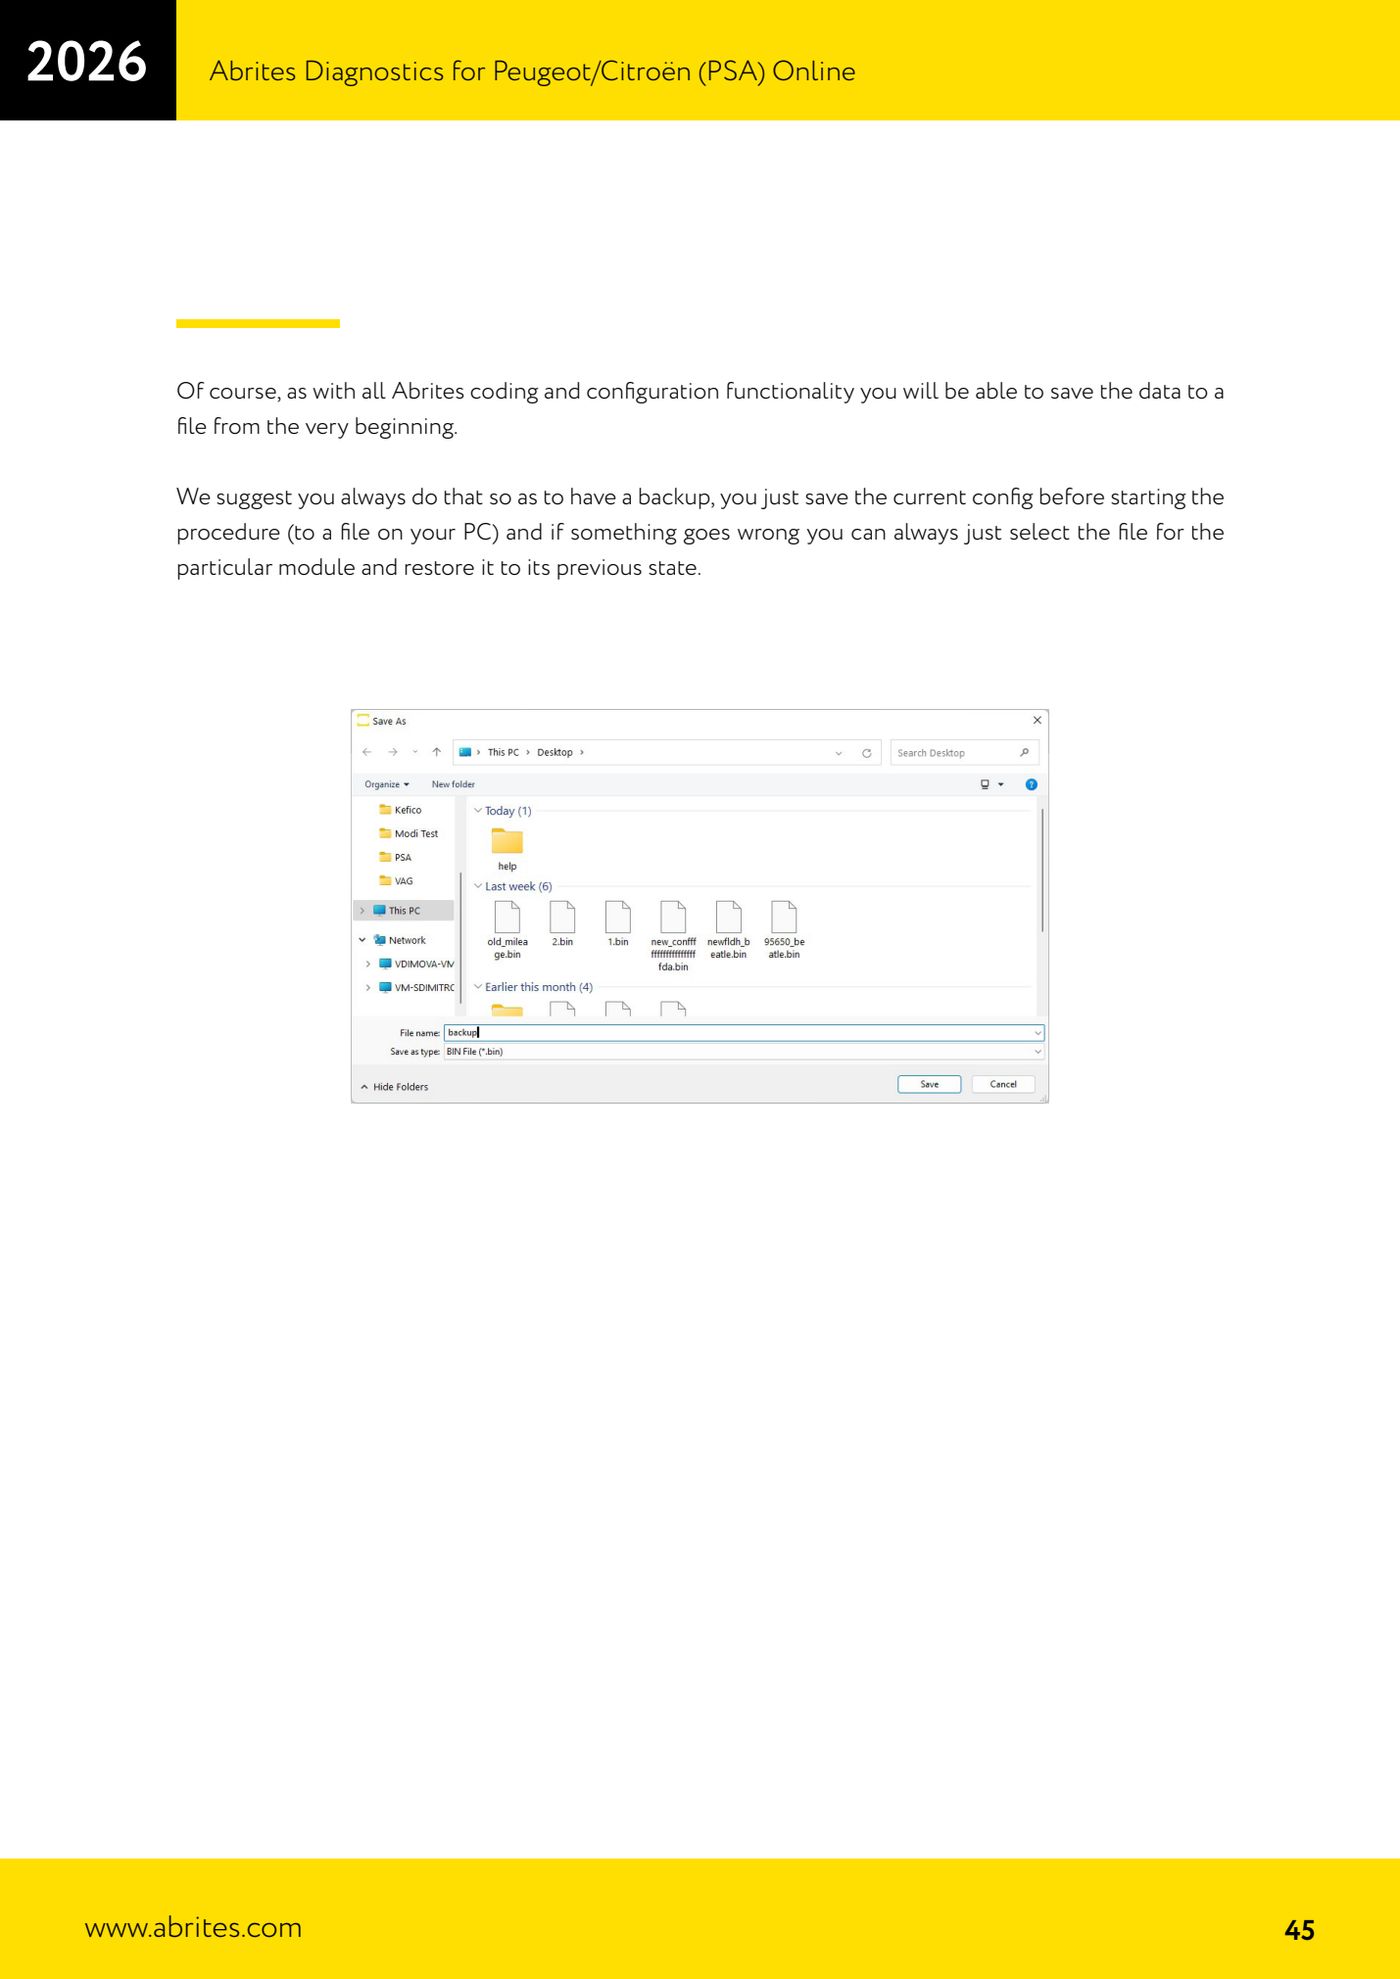
⚠ WarningALWAYS save the current configuration to file before changing anything: the backup is per module, there is no overall backup, so every module you go into has to be saved and configured separately. There are no quick-coding functions in PSA Config: some changes require work on two or more modules separately, so do your homework before writing.
Procedure
- Connect the AVDI to the OBDII socket, feed the vehicle from an external power supply and launch PSA Online, completing the identification and module scan.
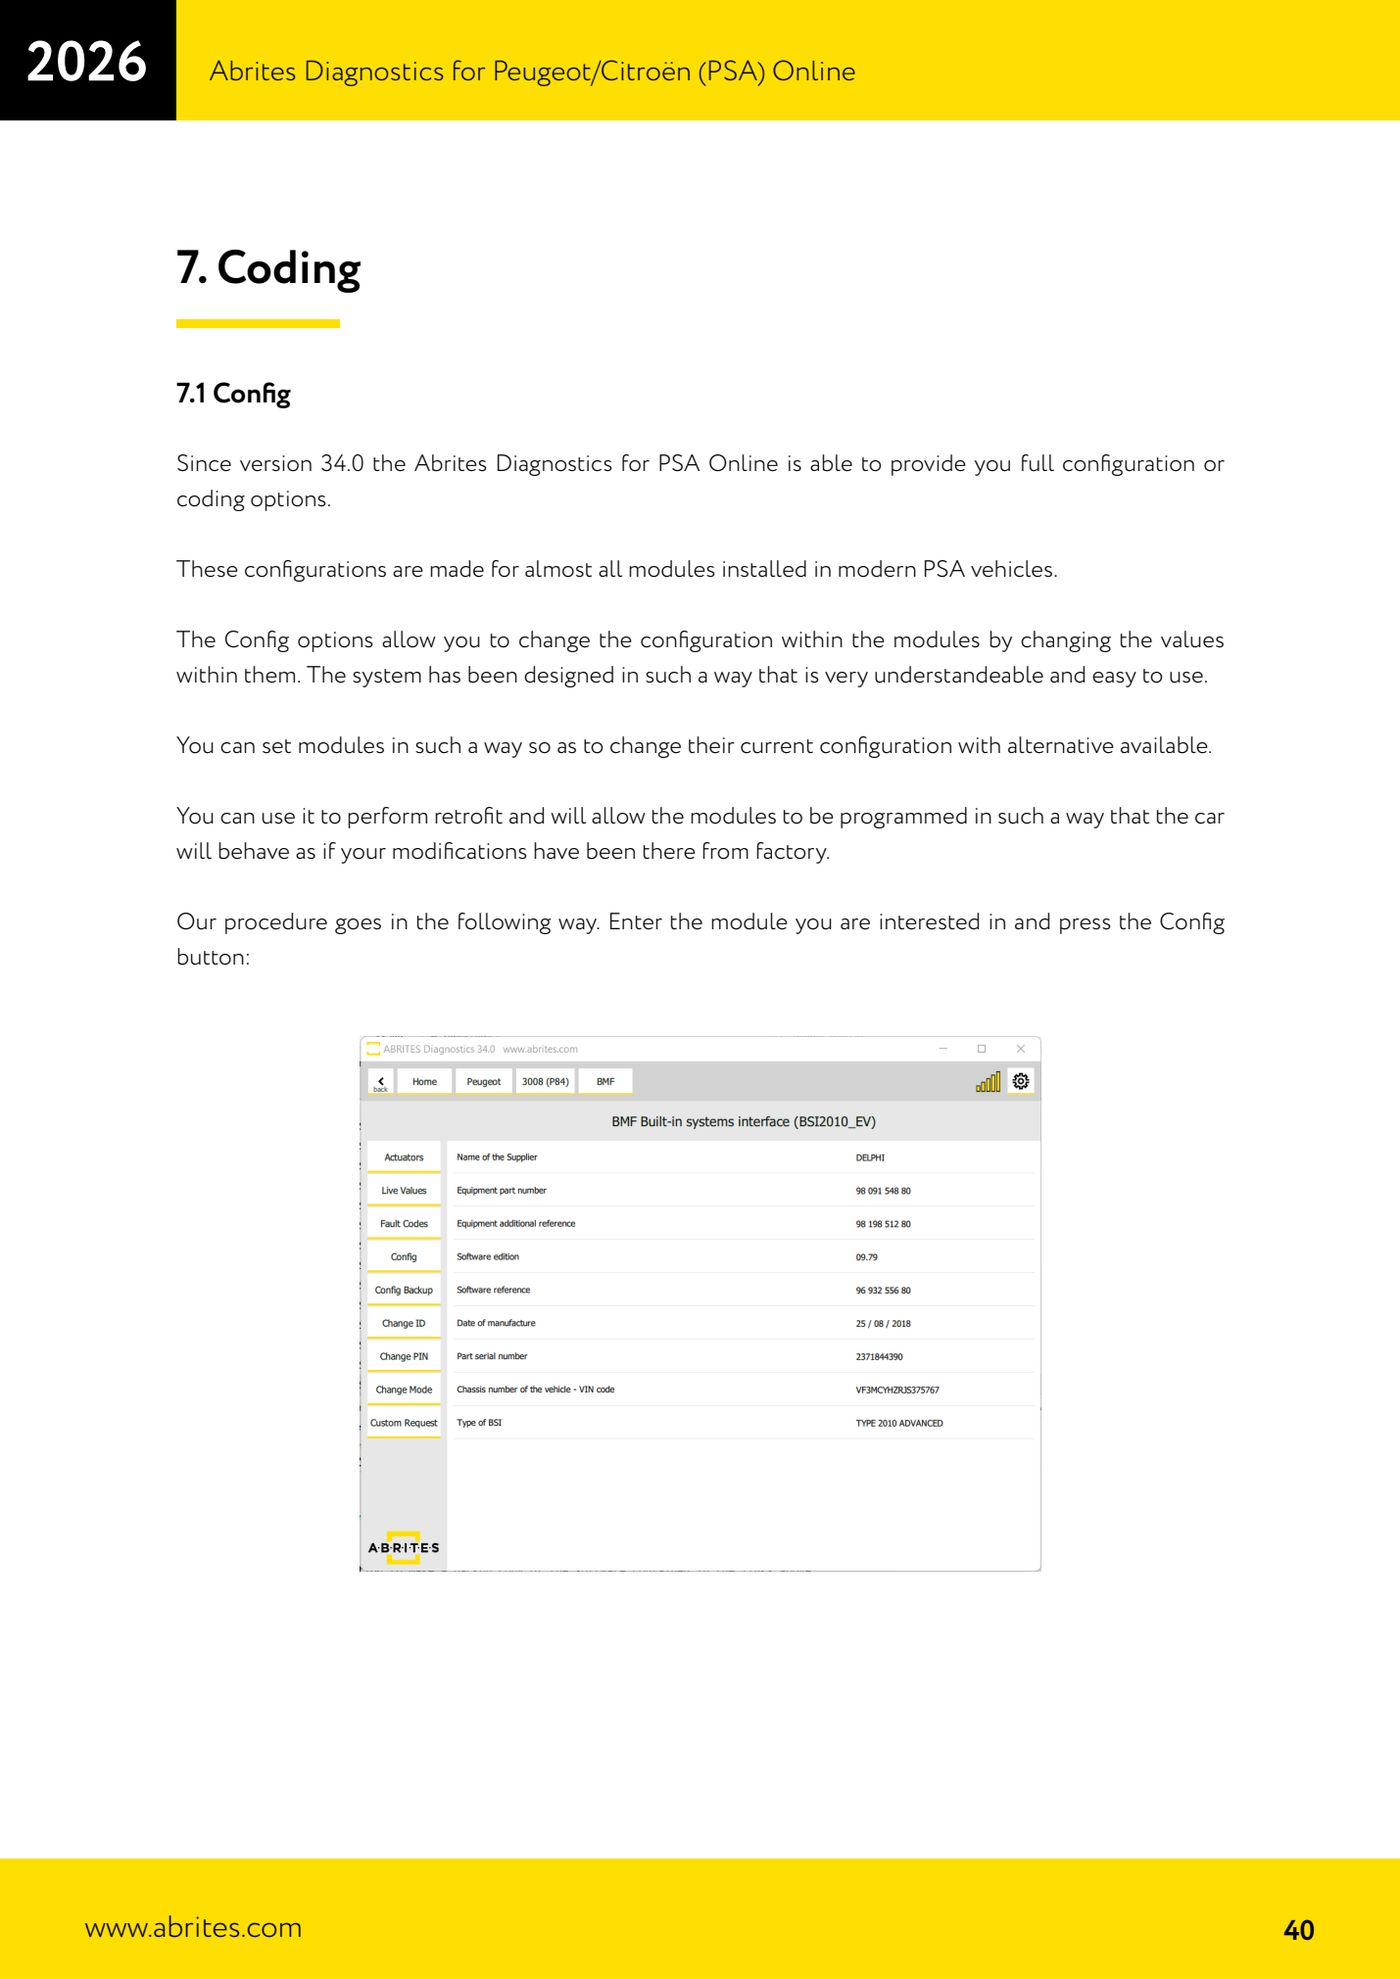
- Enter the module you want to configure and press the "Config" button.
- Before making any change, save the module's current configuration to a file on the PC: that is your only way back if something goes wrong.
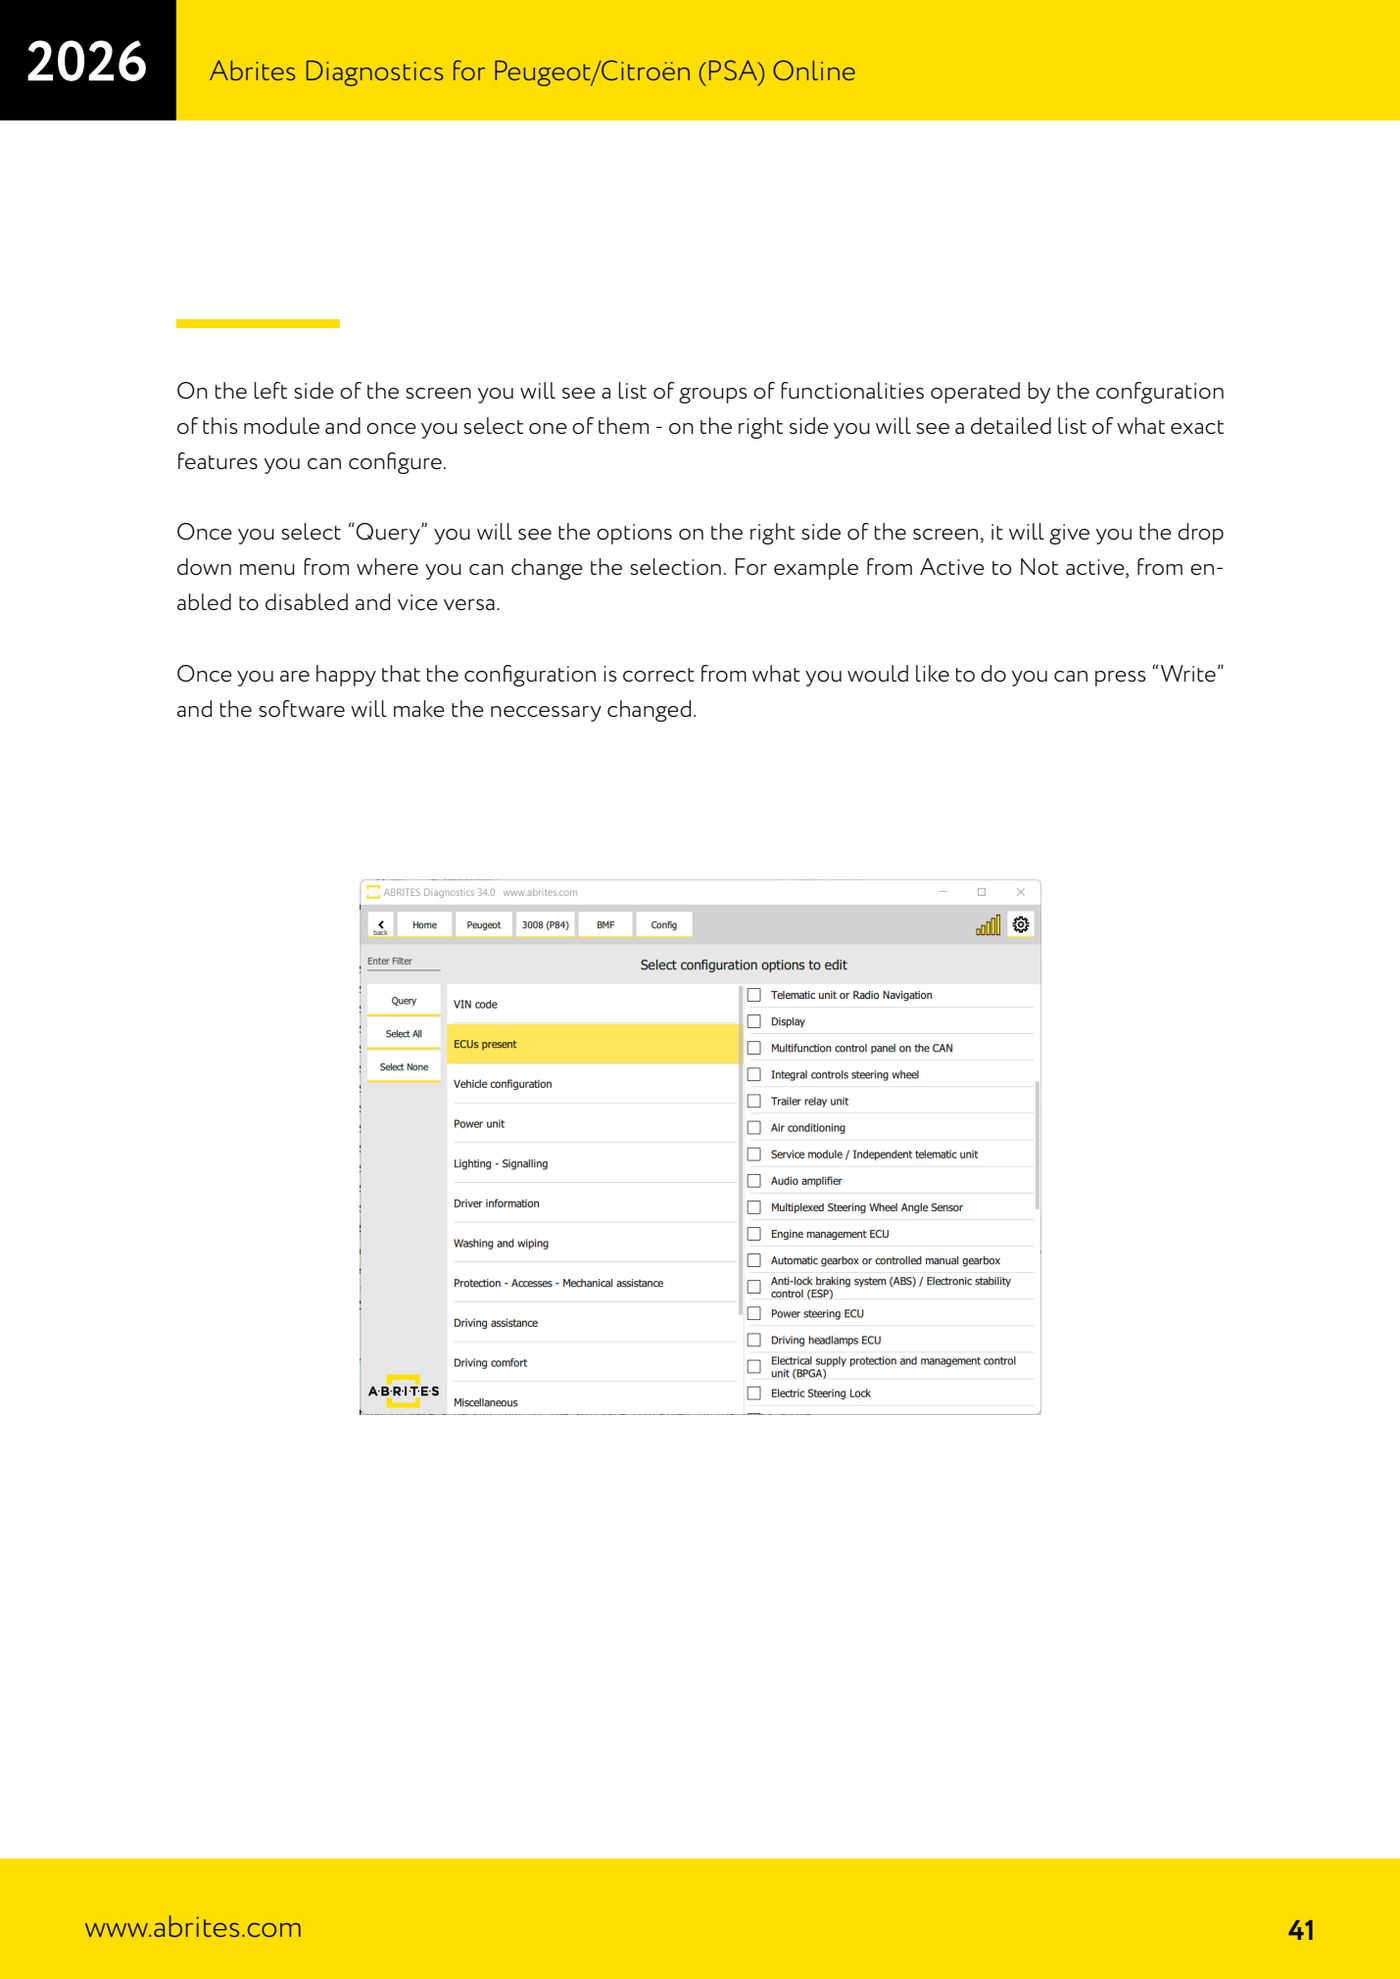
- On the left-hand side of the screen scroll through the list of function groups handled by that module's configuration and select one.
- On the right-hand side the detailed list of configurable functions for that group appears.
- Press "Query" to read the current status: on the right, each entry shows a drop-down with the available values (for example Active to Not active, enabled to disabled and vice versa).
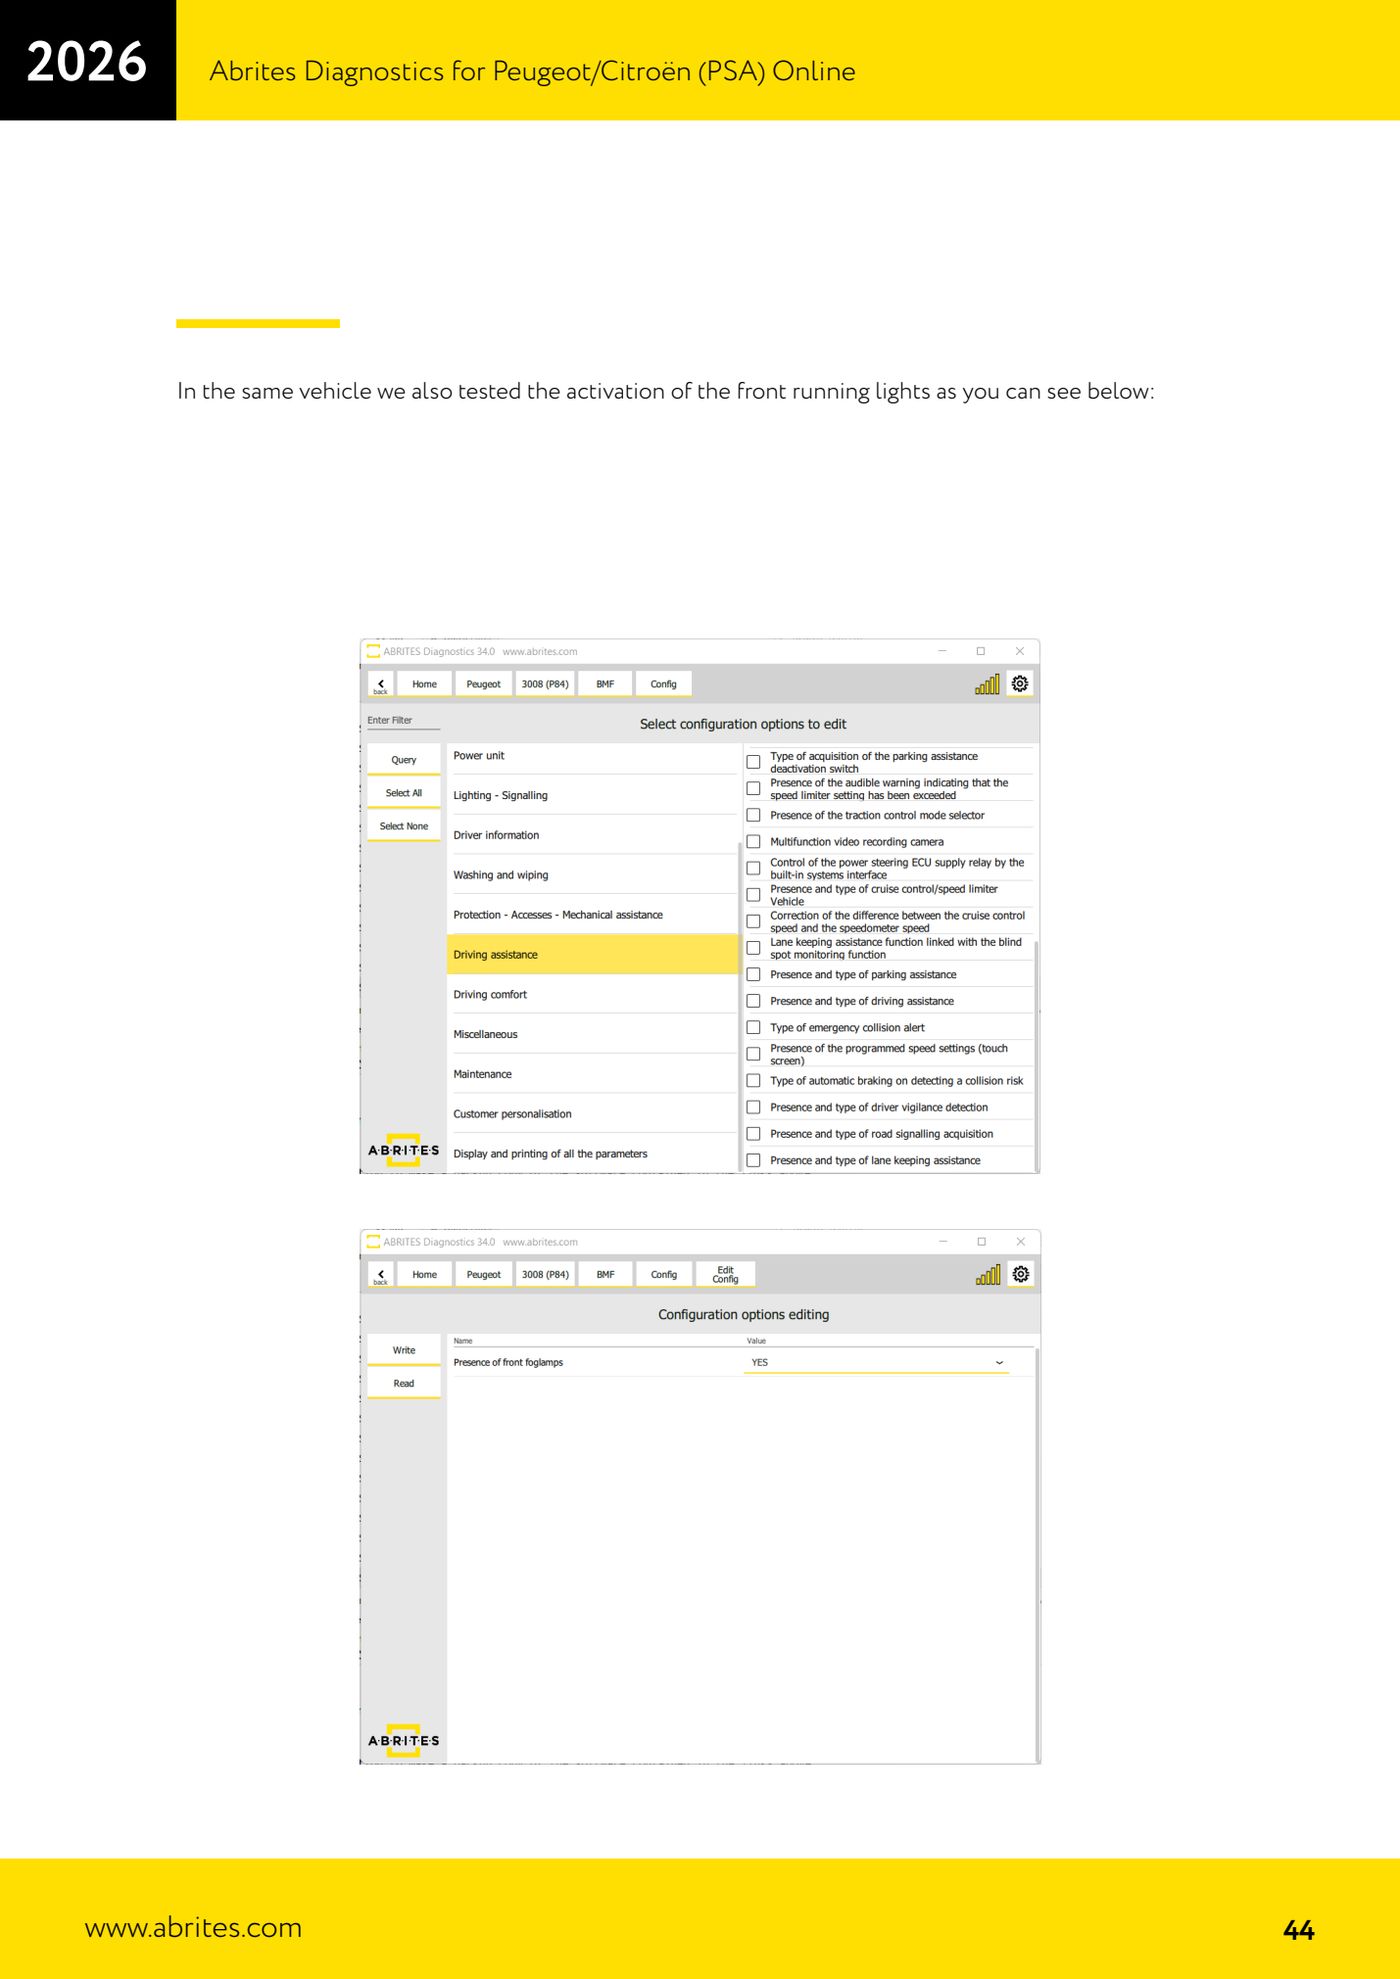
- Change the value you want from the drop-down. Examples documented in the manual on a 3008 P84: adding the passenger-side cabin blower and enabling the front daytime running lights.
- Once the configuration is as you want it, press "Write": the software applies the changes.
- If the function requires changes on more than one module, repeat the whole procedure (including saving the backup) on every module involved.
- To change the VIN, enter the module and use the "Change ID" button. To change the PIN, use the dedicated function in the BSI or in the modules that support it.
- Check the result on the car and, if something does not work as expected, reload the configuration file saved in step 3 for that module to go back to the previous state.
- When finished, use "Clear faults" to erase any DTCs generated by the writes.
Reference screenshots
Source: Manuale PSA Online, cap. 7 - 7.1 e 7.2 (p.40-47) · ⏱ estimated time 20-60 min
← All Abrites guides Hardware catalogue
More guides PSA
- Standard Peugeot/Citroën diagnostics: unit scan, DTCs, identification and live data
- Reading the PIN (Read security code) and key programming on Peugeot/Citroën
- Engine Control Unit: reading/writing Configuration Data and ECU flash, IMMO OFF and after sales preparation (EDC, SID)
- Read/Update ConfData: backing up and restoring the configuration data of the BSI and instrument cluster
- BSI exchange: replacing the BSI with a used unit (JCI and Valeo CAN) and identifying the hardware version
- Continental BSI 2015+: reading the PIN, EEPROM read/write, BSI exchange and Set PIN
- Mileage correction on Continental BSI 2015+ using the "CAN" Calibration function
- Cluster Calibration: mileage calibration on the BSI and instrument cluster (with Disable dashboard synchronisation)
- Service Zero Reset: resetting the service/oil change indicator on Peugeot/Citroën
- Dump Tool: reading, saving and clearing crash data from airbag control units
- Vehicle identification, module scan and DTC handling (Peugeot / Citroën / DS)
- Reading live parameters and running actuator tests on PSA control units