
Chip-Tools
VGS4-0-NAG2 (Type 1): FBS4 reading, virginizing and personalization with ABProg / SET088 - legacy procedures
Mercedes
Interface New
Keys / Immo
Advanced
⏱ 2-4 hours
17 steps
Legacy procedures for the 7G-Tronic VGS4-0 NAG2 (Type 1) TCUs when you do not hold the MN039 license or when you have to work on a salvage unit: FBS4 data reading, reset to virgin state and personalization. They involve mechanical work on the unit and the use of the ABProg programmer, with the SET088 as the solder-free solution.
Required licences
- MN032
- MN034
- MN035
- MN039
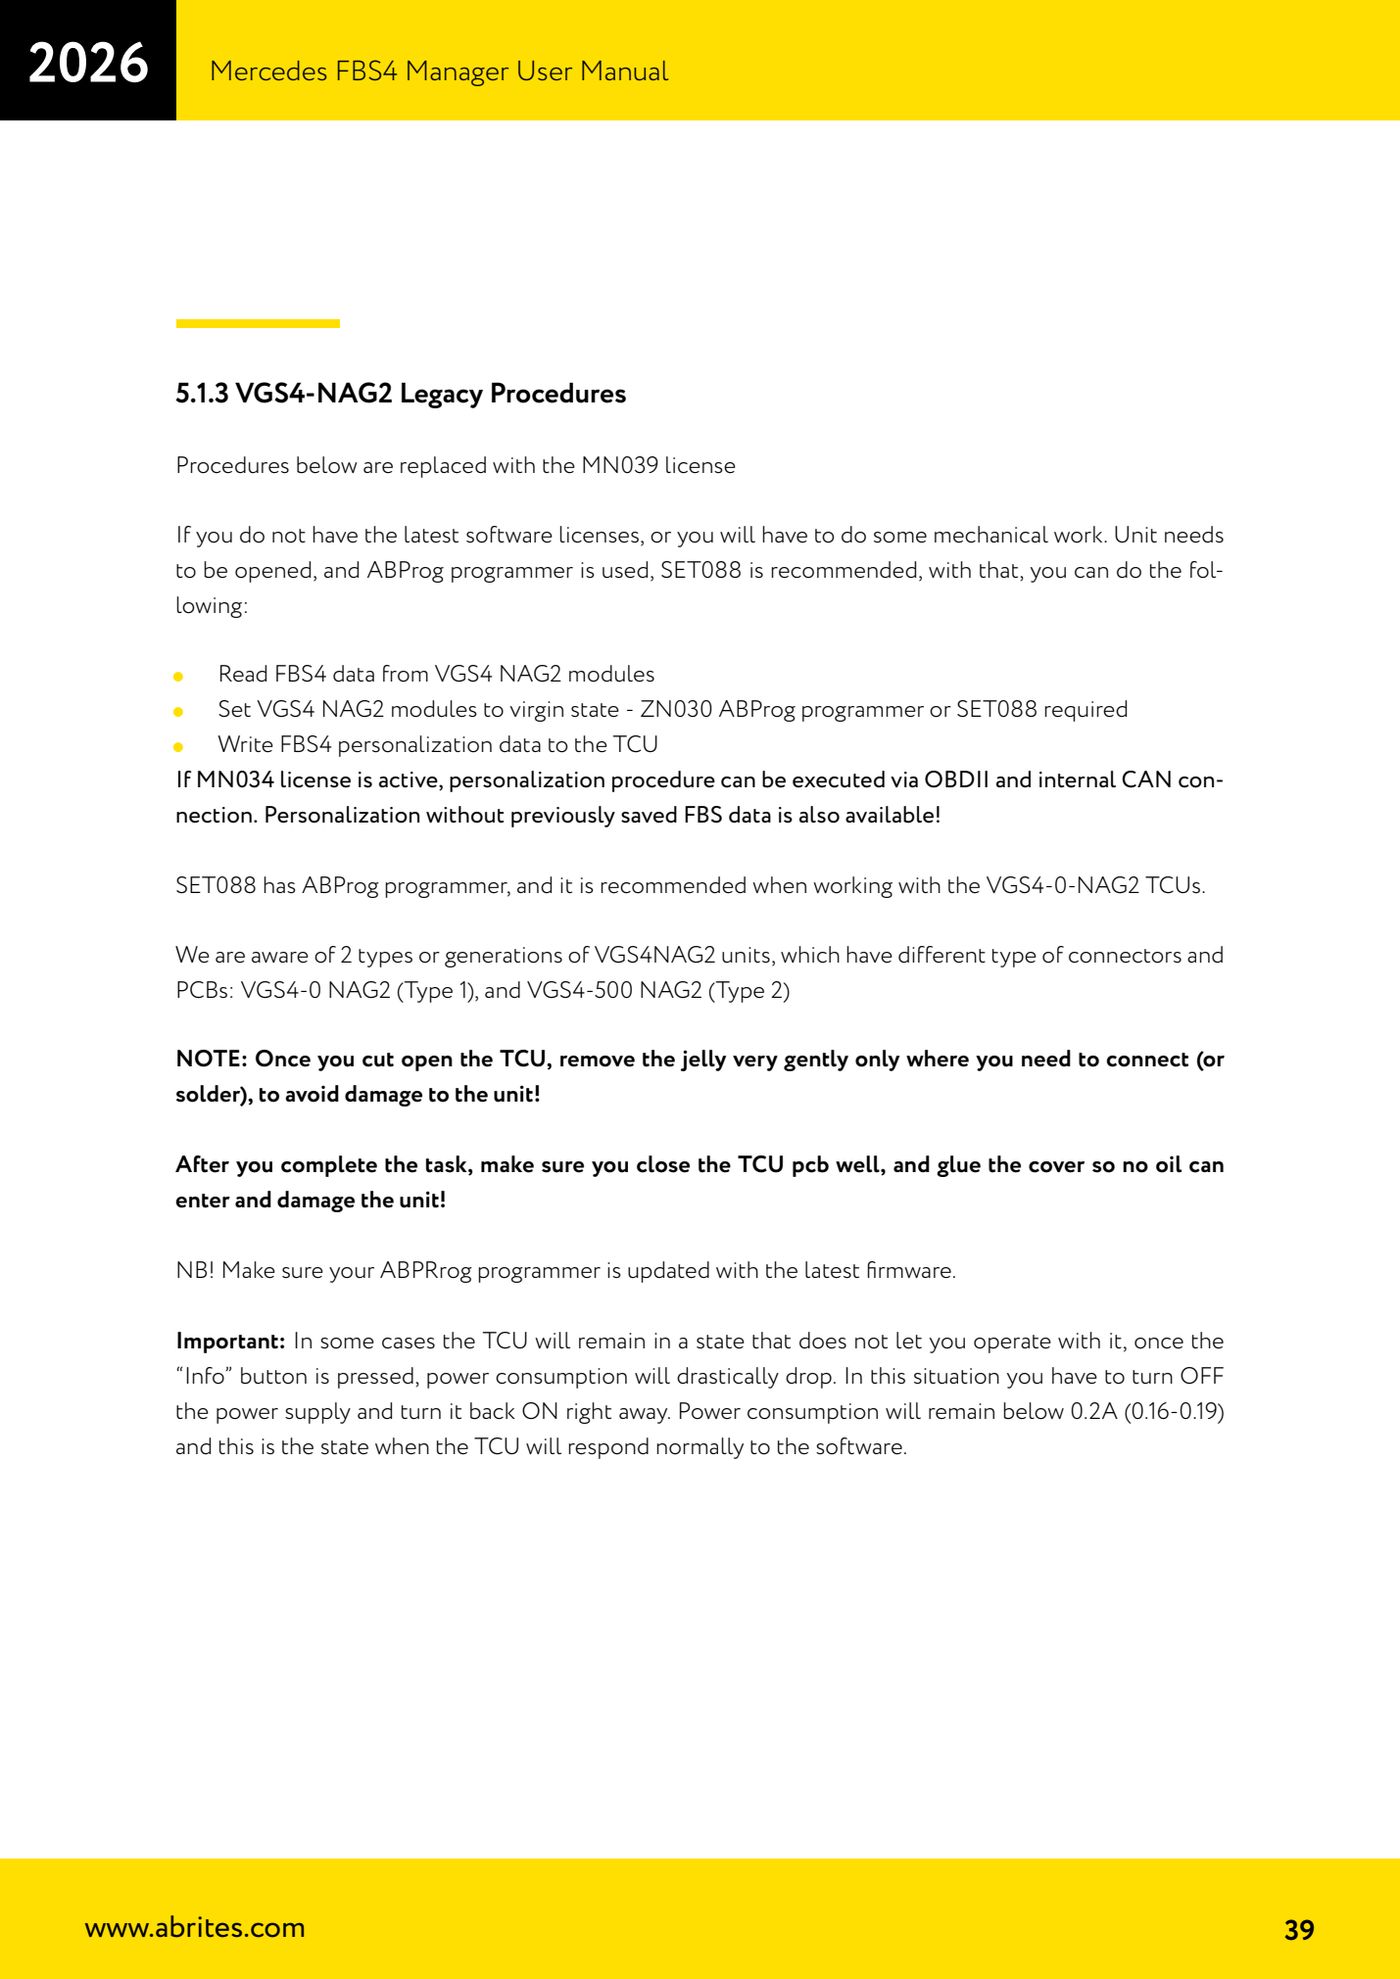
⚠ WarningOnce the TCU is open, remove the gel very carefully and only where you have to connect or solder, so you do not damage the unit; when you are finished close the PCB up properly and glue the cover so oil cannot get in. Update the ABProg to the latest firmware. If the current draw collapses after you press "Info" and the TCU does not respond, switch the power off and back on immediately: the unit is working correctly when the current draw stays below 0.2 A (typically 0.16-0.19 A). Virginizing can ONLY be done on the bench with the ABProg.
Procedure
- Identify the variant: VGS4NAG2 units exist in two generations with different connectors and PCBs, VGS4-0 NAG2 (Type 1) - this procedure - and VGS4-500 NAG2 (Type 2).
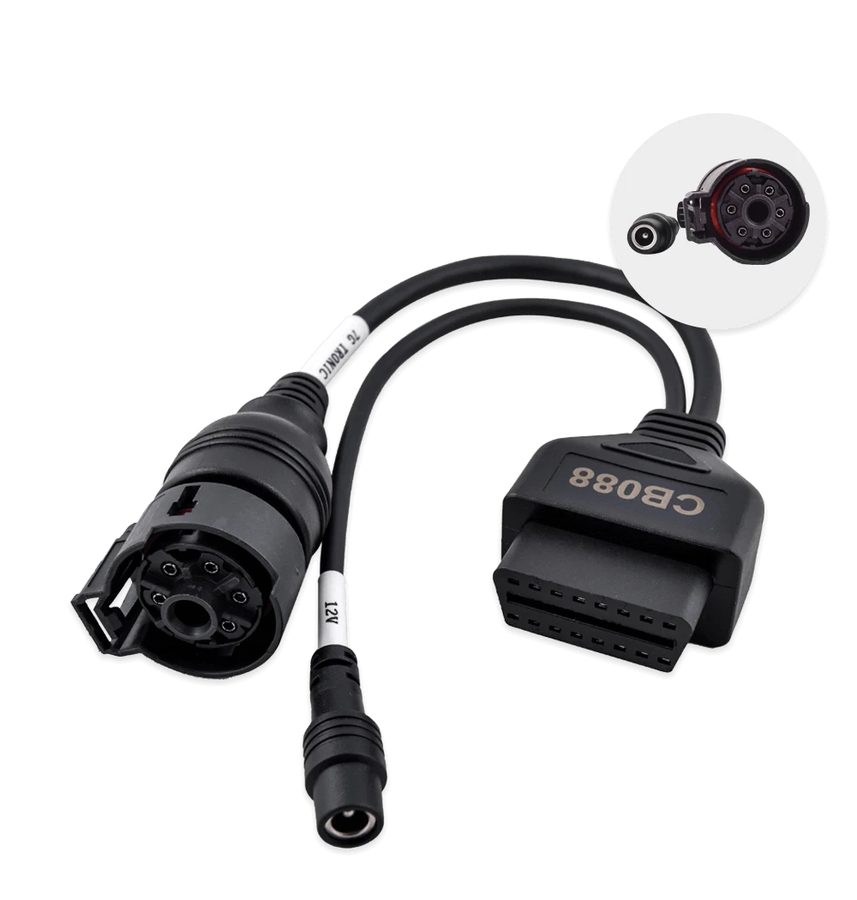
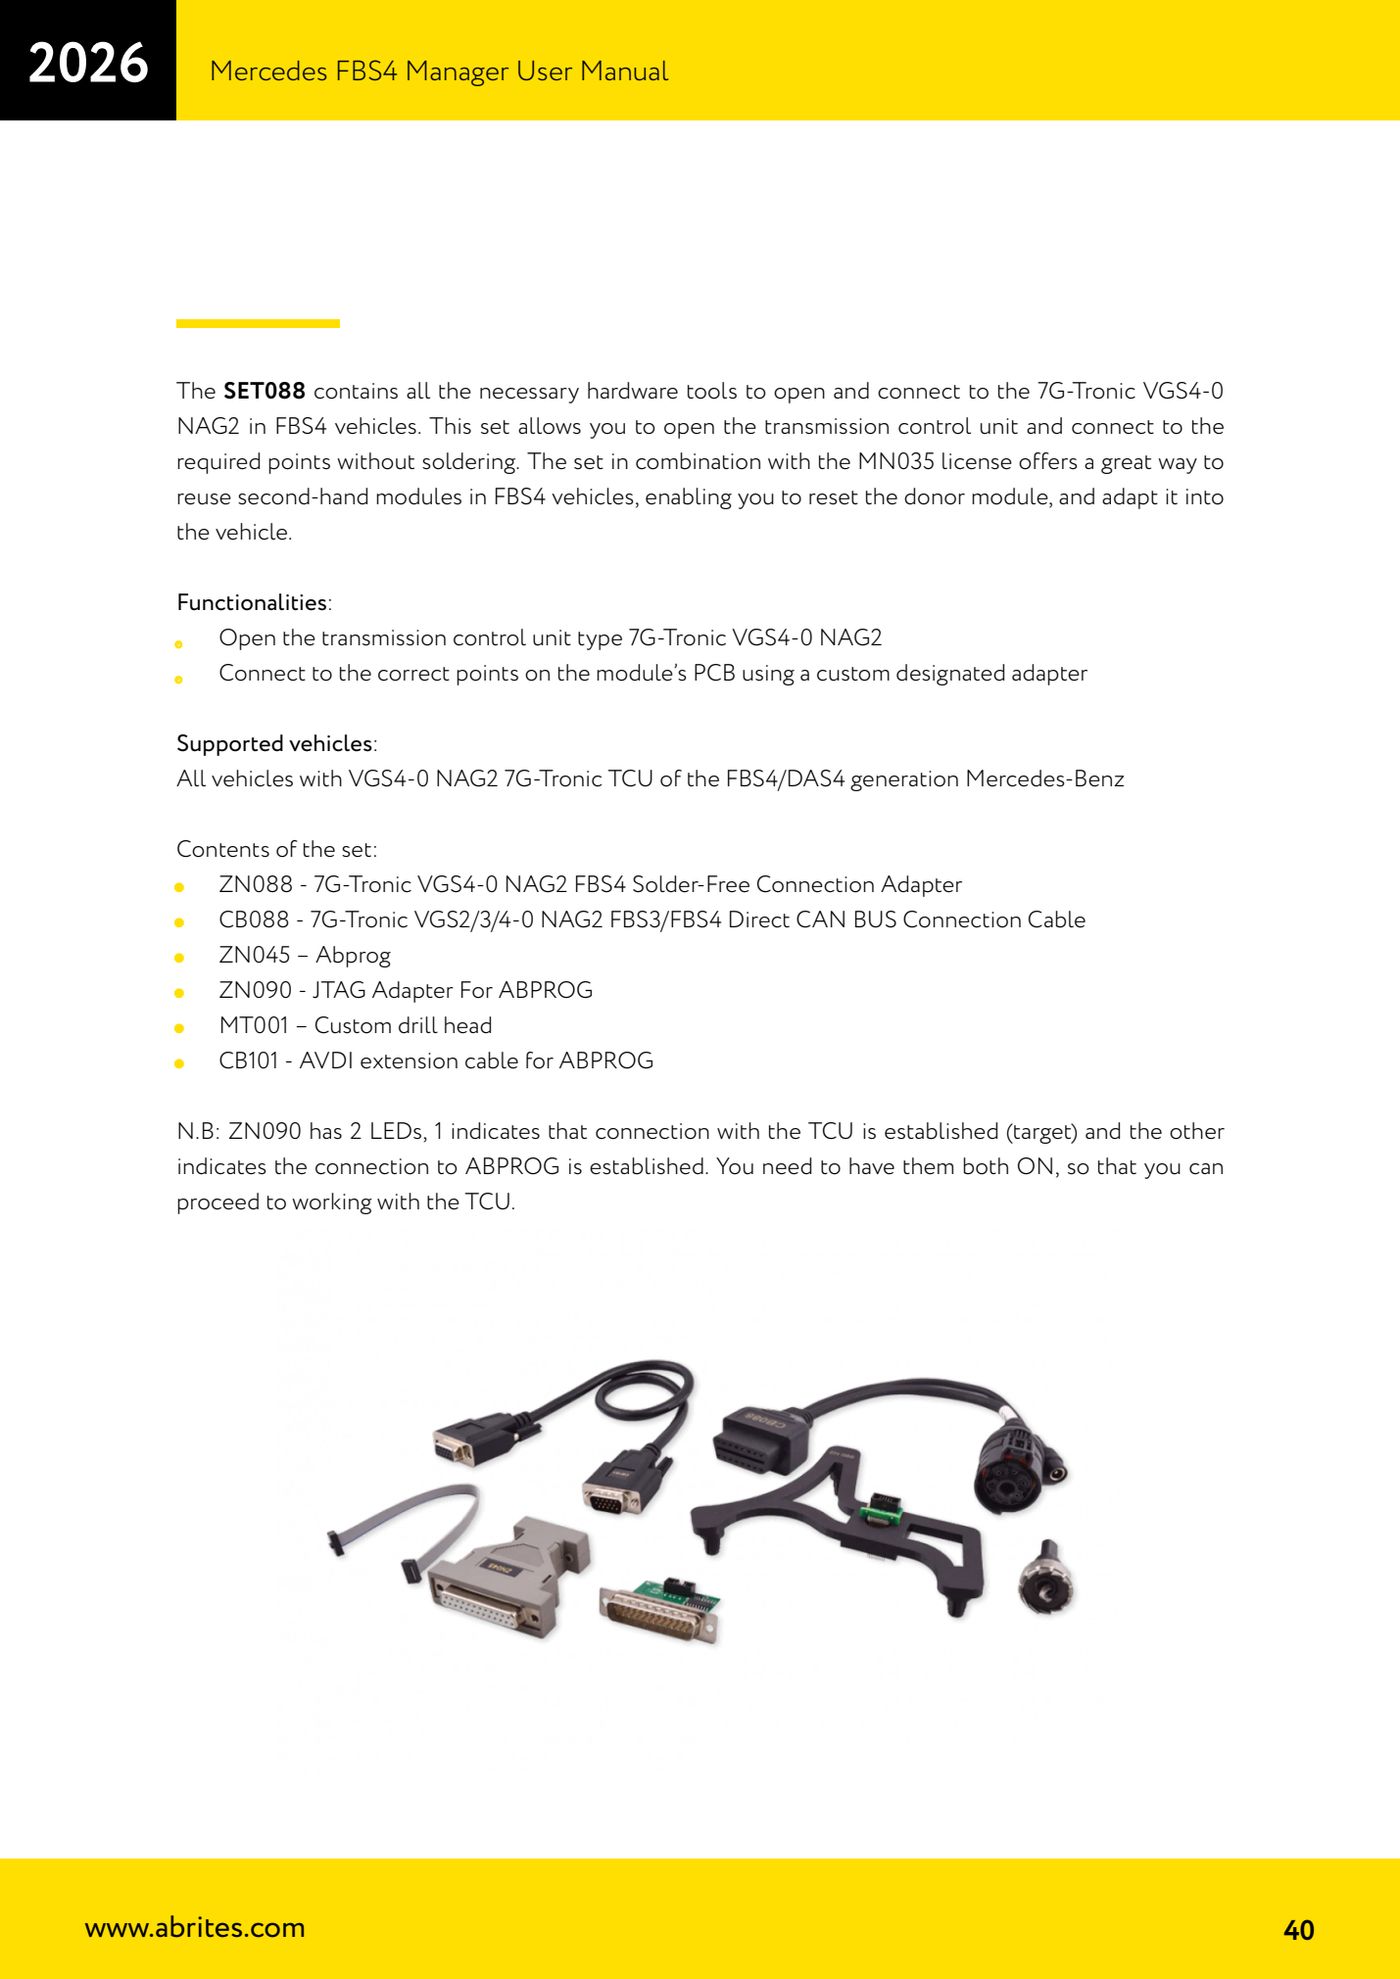
- Choose the connection: in the vehicle over OBDII plus internal CAN (diagnostic CAN); on the bench with the CB088 - 7G-Tronic Direct CAN BUS Connection Cable and a 12 V supply (ZN074 set recommended); or via ABProg, either soldering to the PCB or using the solder-free SET088 solution.
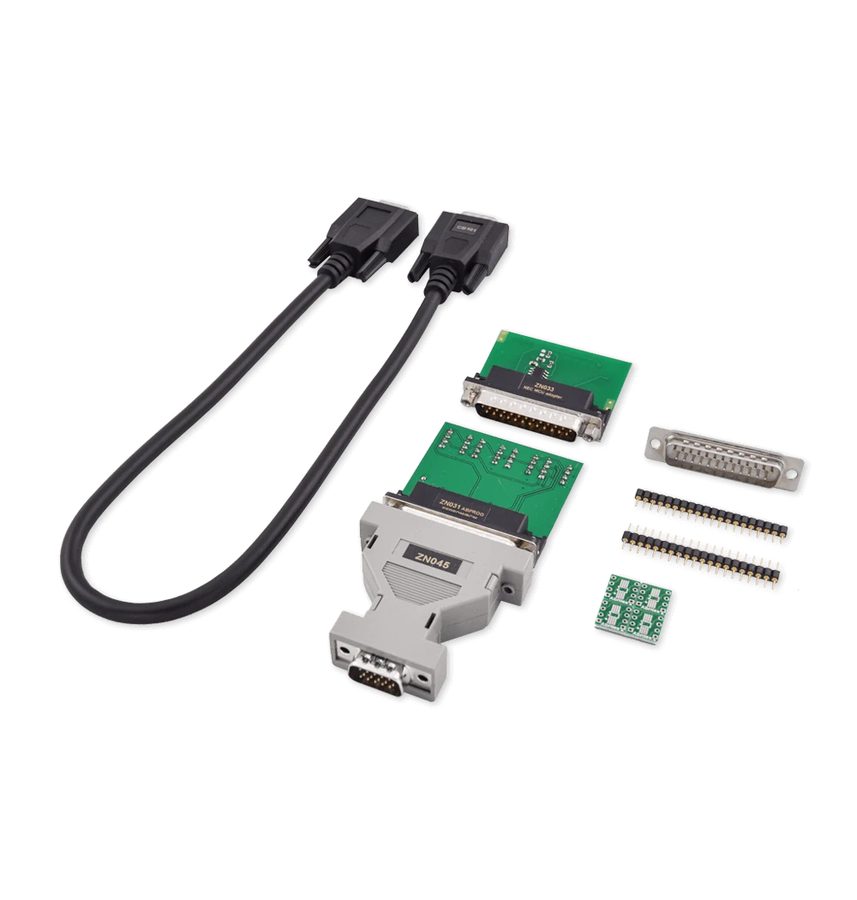
- For the ABProg connection, open the TCU by cutting the cover: use the dedicated SET088 tool with its template (MT001 cutter).
- Connect to the specific points on the PCB: option 1, soldering wires to the points indicated; option 2, with the ZN088 needle adapter. If the unit does not respond with the ZN088 needles in place, move the position to the other side: there are variants of these control units.
- Connect everything to the ABProg: SET088 ribbon cable to ZN088 and ZN090, then ZN090 to the ABProg. Check that both LEDs on the ZN090 are lit (one shows the connection to the TCU, the other to the ABPROG): both must be on before you can work.
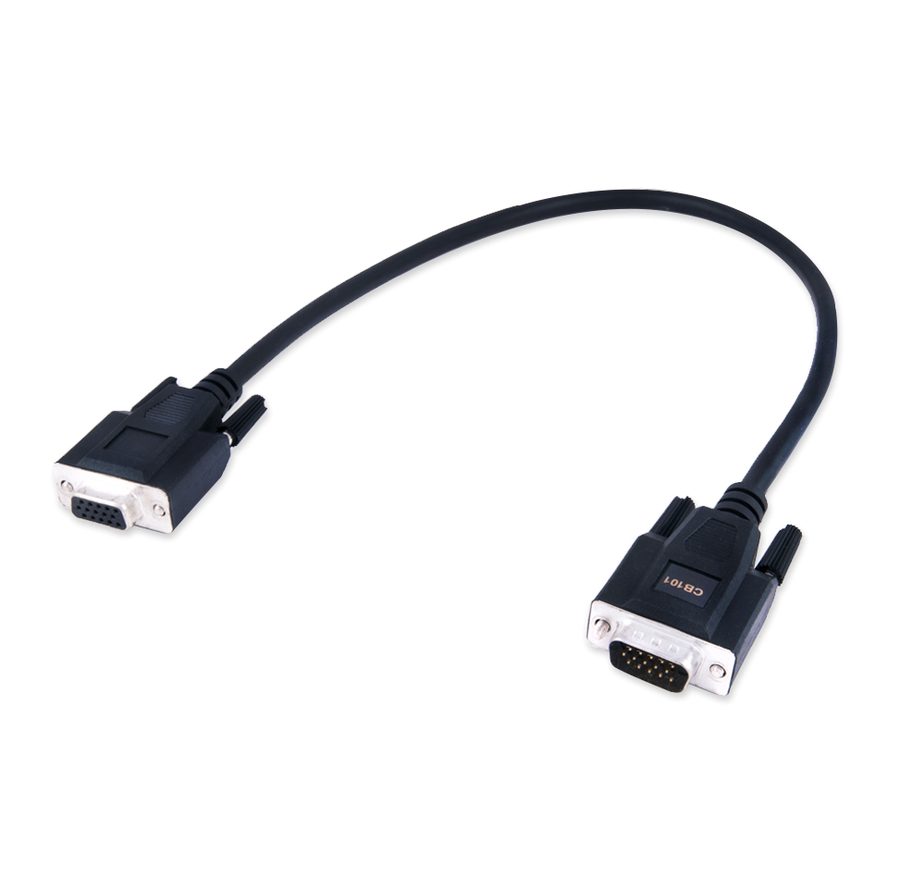
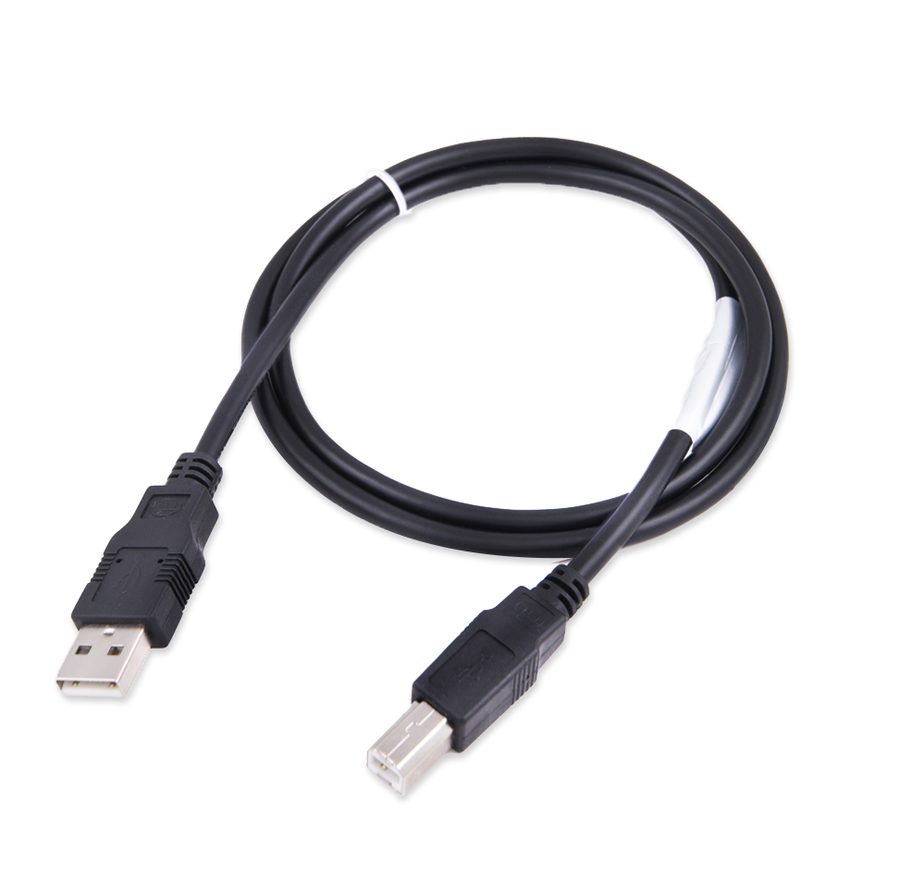
- Connect the ABProg to the AVDI directly or with the CB101 extension, and the AVDI to the laptop with the CB104 USB cable.
- Connect the TCU connector with the CB088 cable (or the dedicated cable from the CB011 set), or with a home-made DB25 connector.
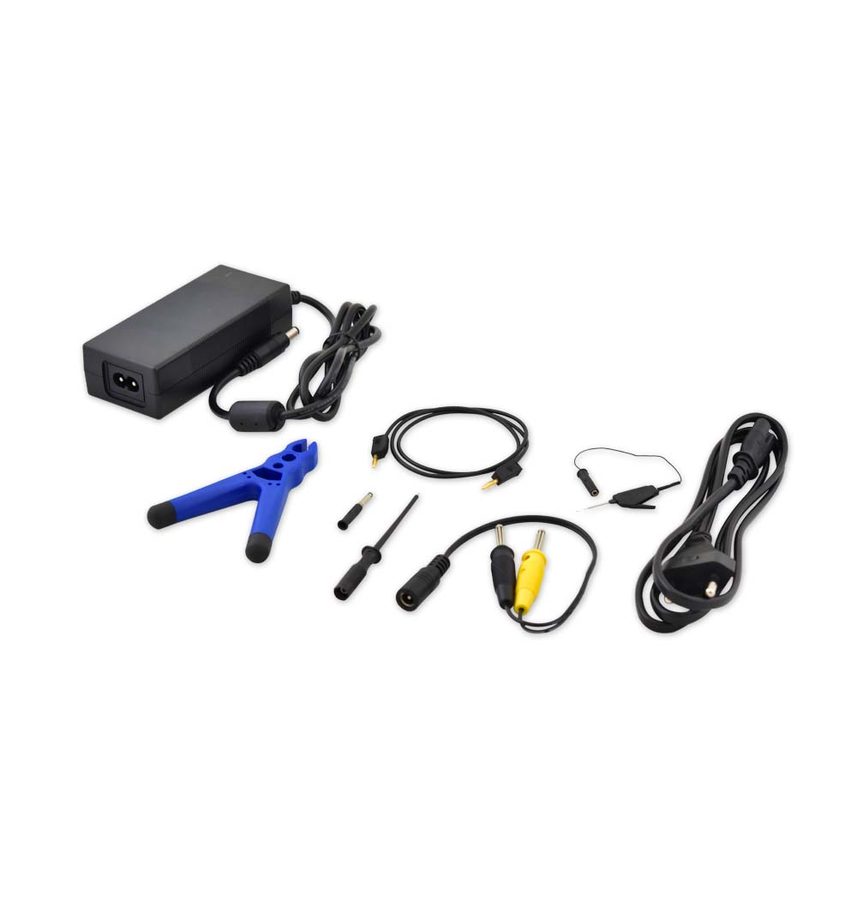
- Power the bench with 12 V DC: the power supply from the ZN074 set connected to the SET088's CB088 cable is recommended.
- READING - Start the Mercedes FBS4 Manager software, select "TCU" and press "Info" to establish the connection (reading is possible over OBDII with MN032 active, or via ABProg with MN035 active).
- Press "Save" to read and save the FBS4 data to a file.
- Back up the configuration straight away: TCU > "Utilities" > "Save All Config Data", and note down in a text file the original TCU's software version and its VIN.
- VIRGIN - If you are using a salvage donor unit, connect the TCU on the bench with the ABProg, select "TCU", press "Info" to check the status and then "Virgin" to bring the unit to virgin state. Once that is done the unit is ready for personalization.
- PERSONALIZATION - Connect the unit (over OBDII and internal CAN with MN034 active, or via ABProg with MN035 active), open the software, select "TCU" and press "Info".
- Press "Personalize" and select the file with the FBS4 data saved from the original TCU.
- Program the configuration data with "Utilities" > "Program All Config Data" using the files saved from the original.
- Set the VIN and, if you need to align the software versions, use the "Program" button.
- Close the TCU up carefully and seal the cover with adhesive before refitting it to the vehicle.
Reference screenshots
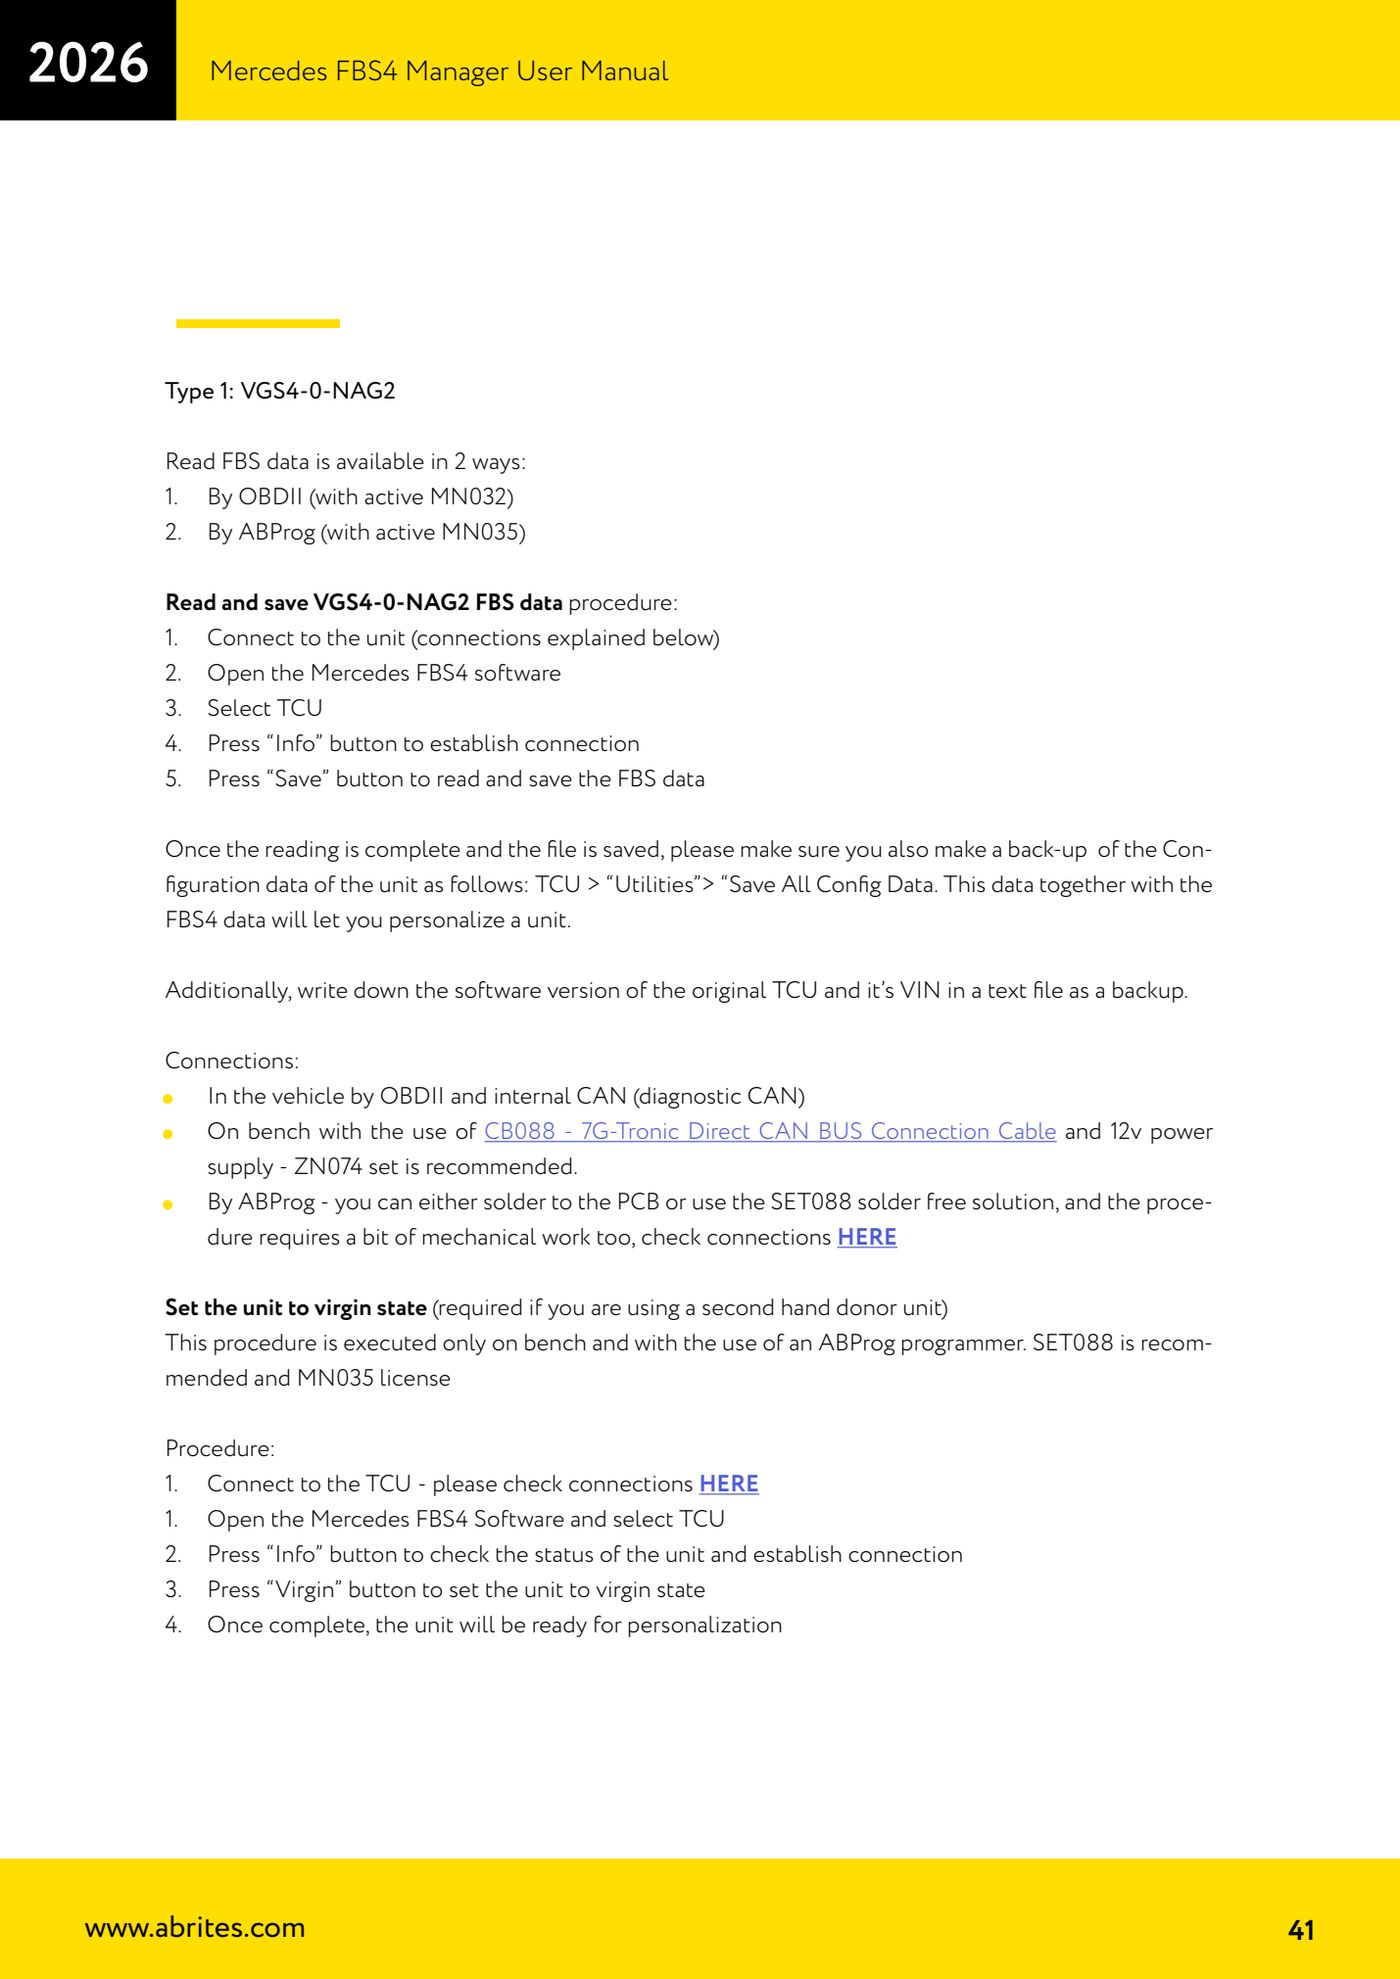
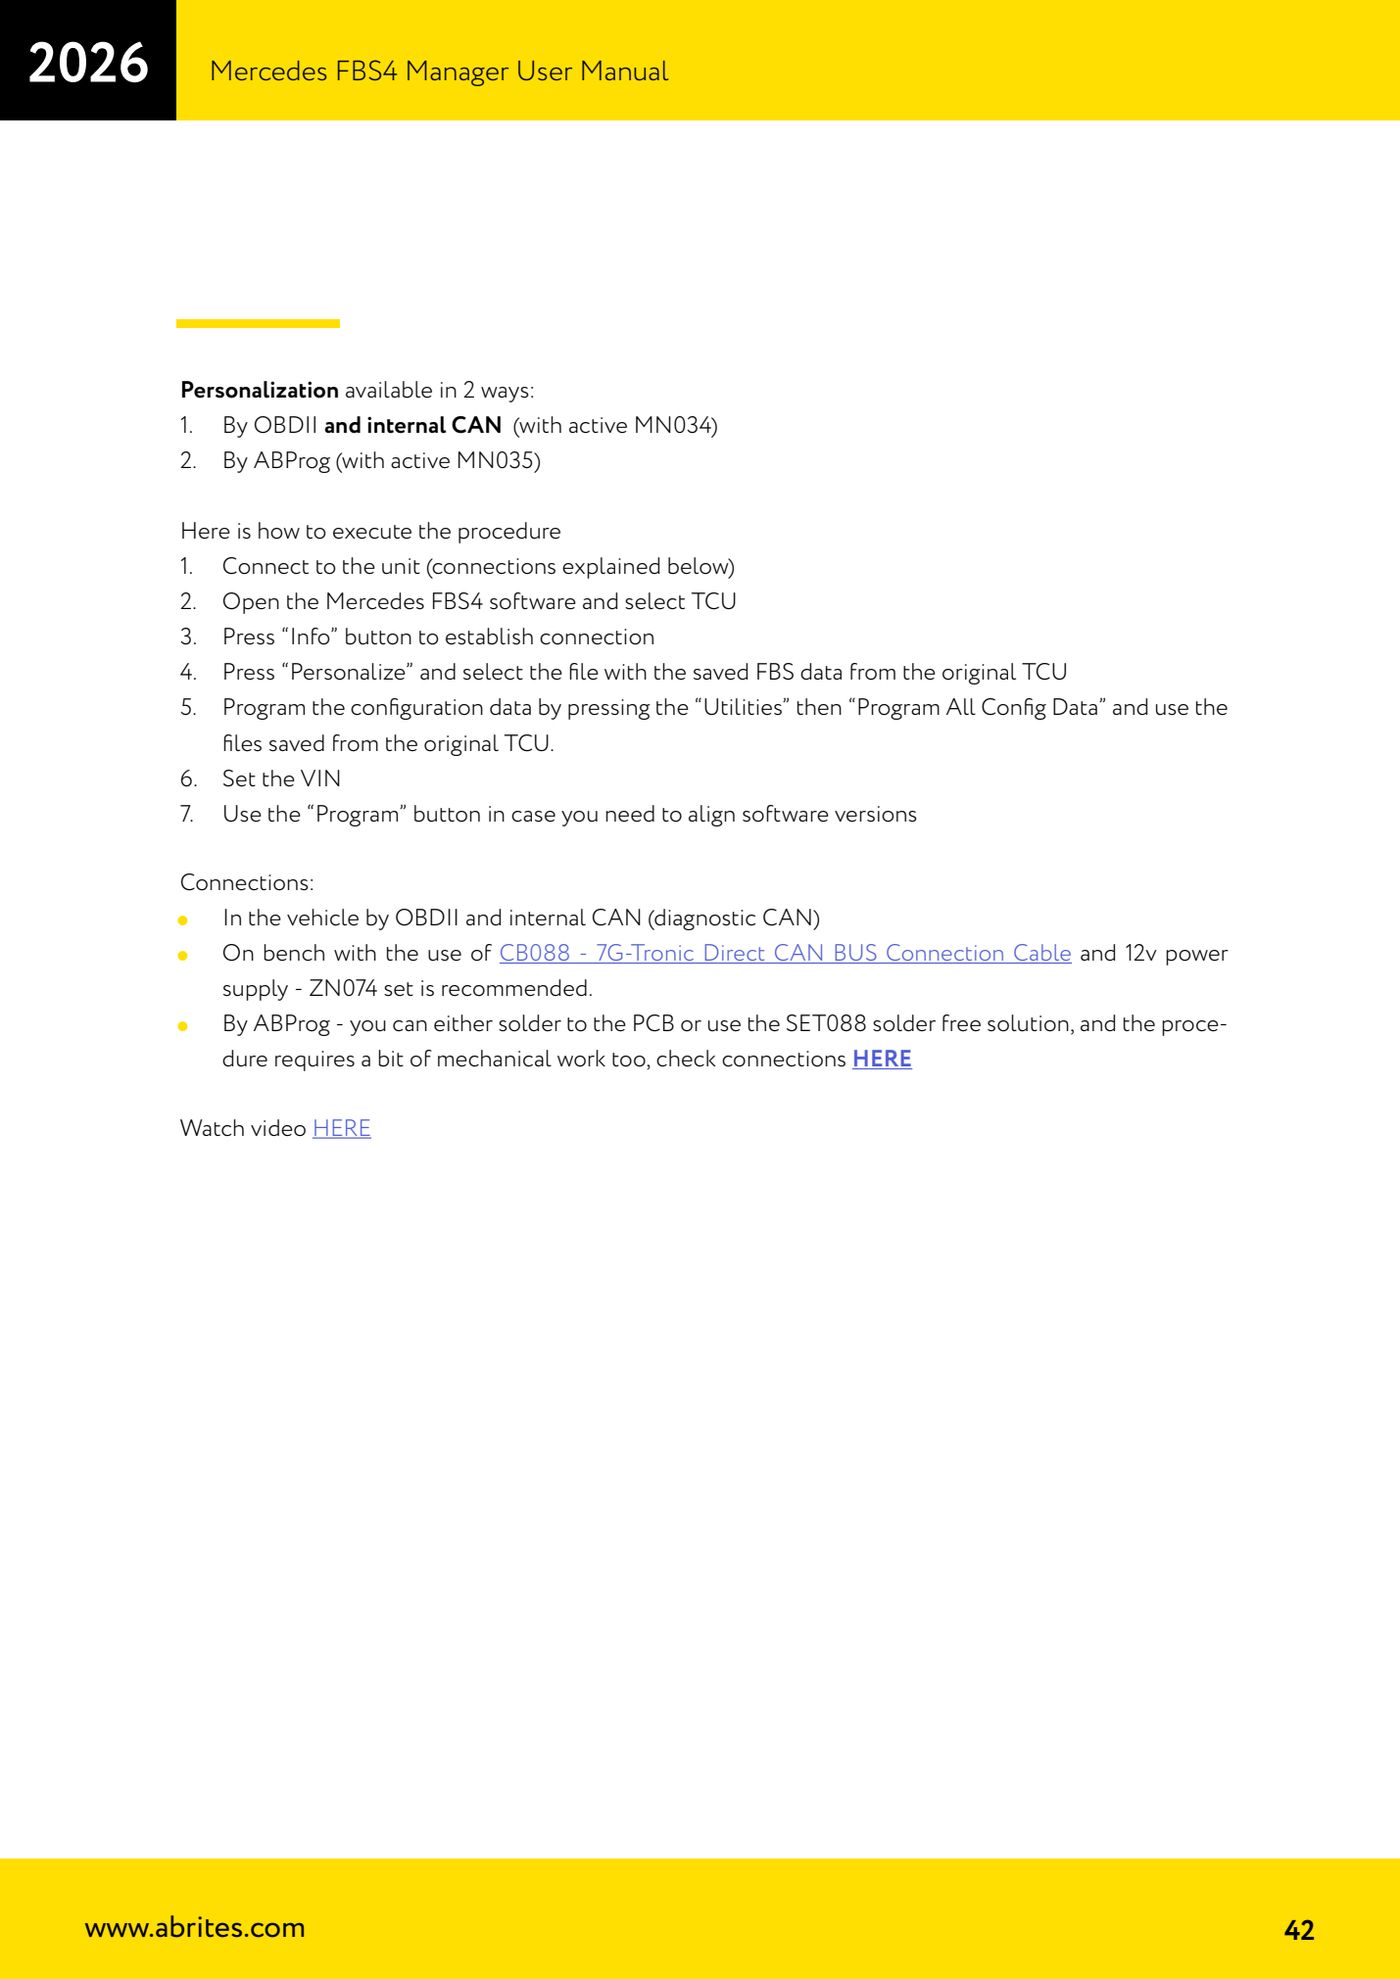
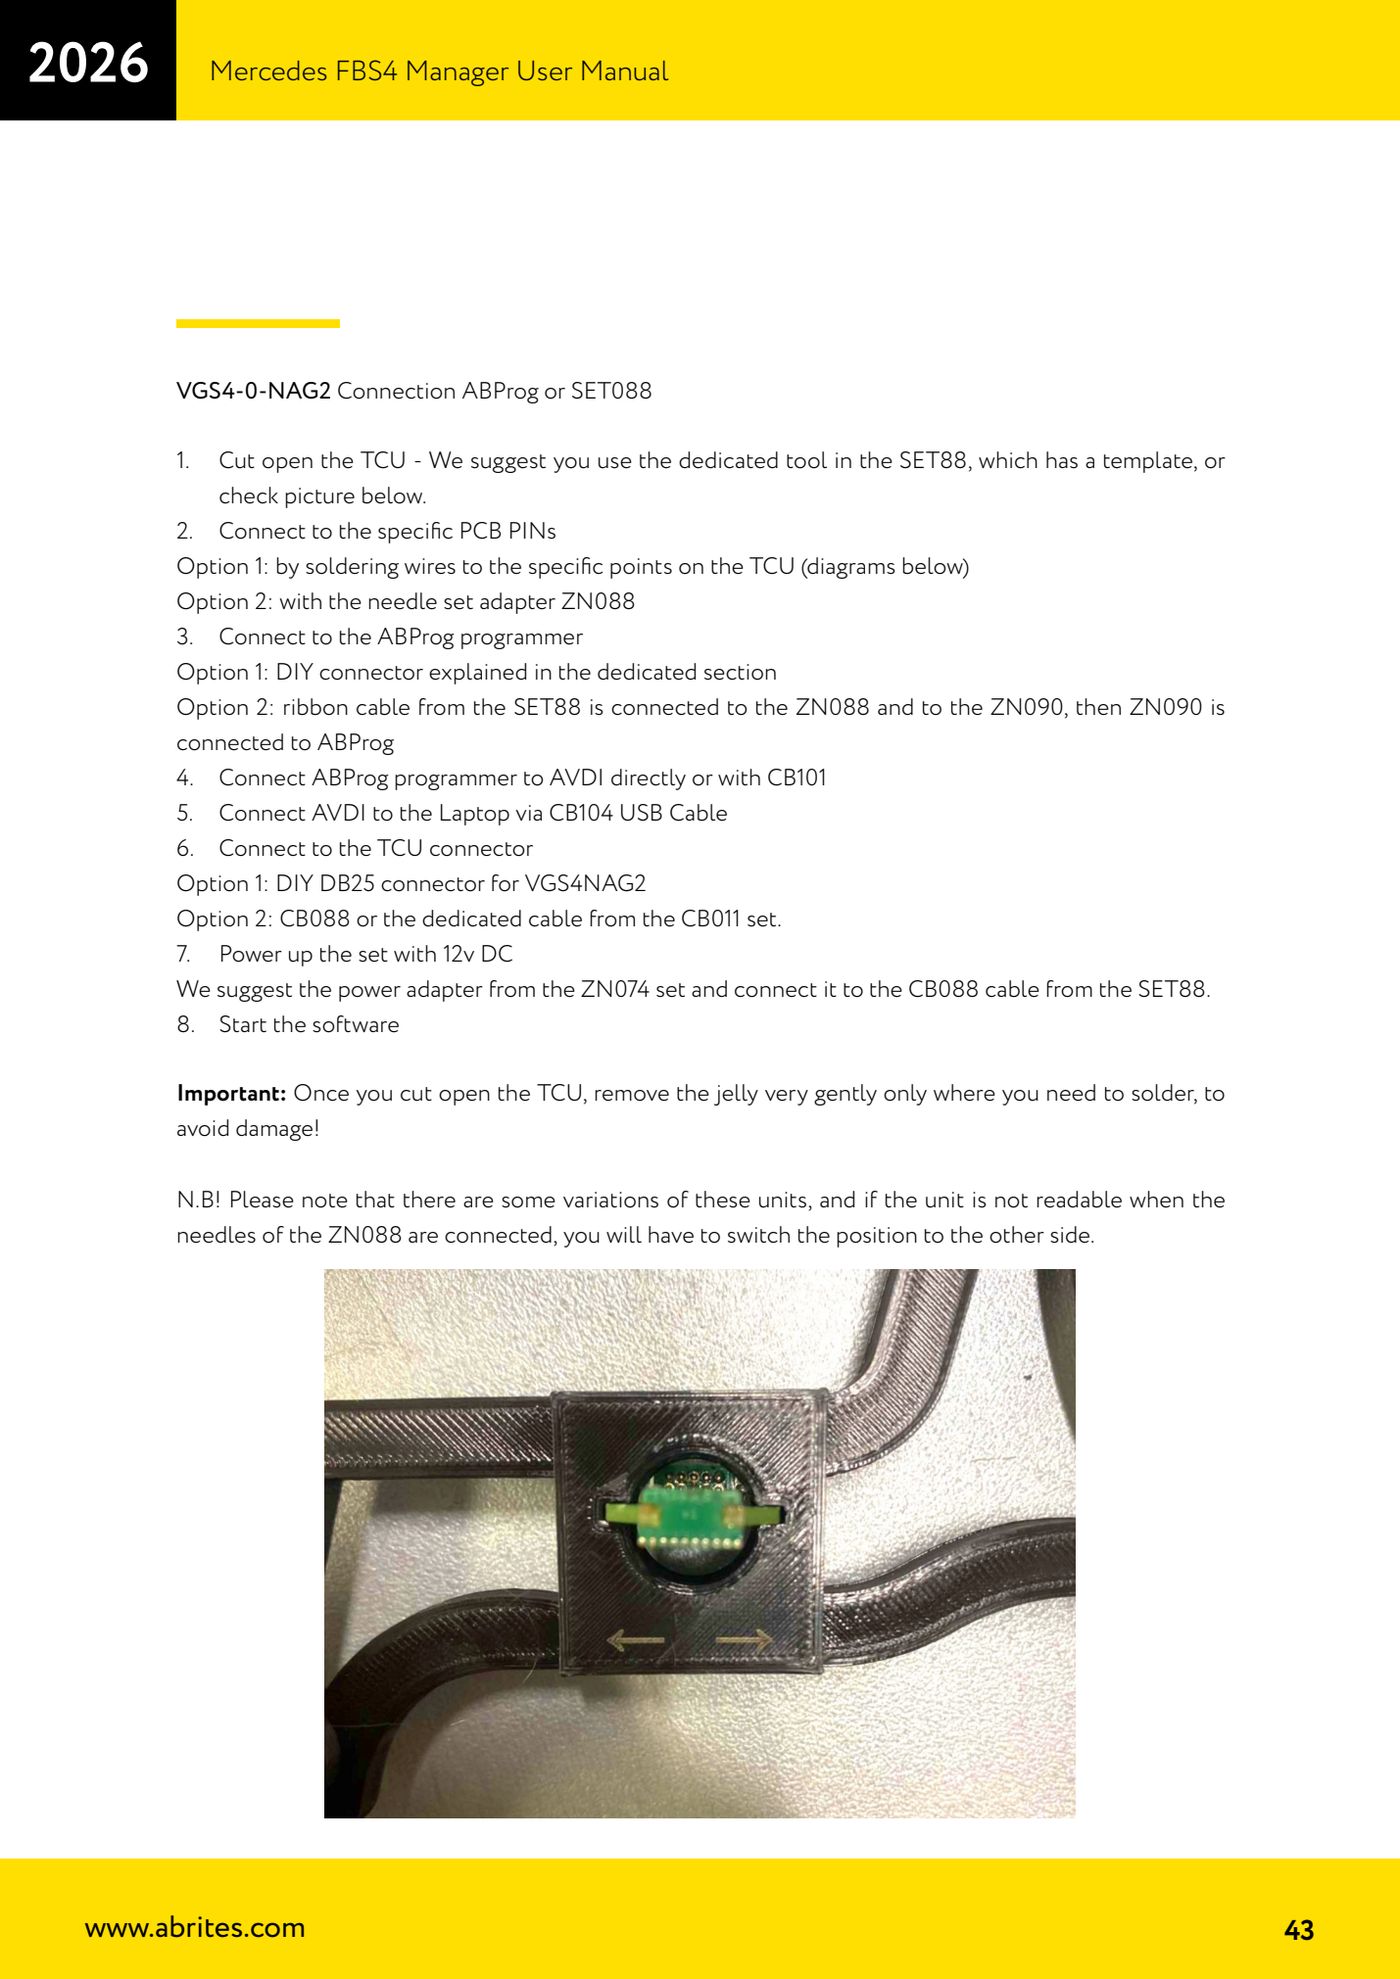
Source: Manuale Mercedes FBS4 Manager, parte 2 di 2, cap. 5.1.3 (p.39-44) · ⏱ estimated time 2-4 hours
← All Abrites guides Hardware catalogue
More guides Mercedes
- Diagnostics and vehicle selection (VIN, chassis, over 1300 modules)
- Mercedes-Benz bus and truck diagnostics
- Mercedes Coding (VMAX, side sensors, parameters)
- Mercedes ECU Flashing (CFF files)
- Mercedes FBS4 Manager (722.9 and CRD3 renew, VIN change)
- Smart Functions (DPF mileage reset, DPF ash, VIM, seat belt alarm, sun roof, 360° cameras)
- FBS4 odometer correction with MN030 + emulators (EM008/EM014/EM018)
- Exhaust flaps — exhaust valve control
- CPC Torque limiter — torque limit
- VMax calibration — speed limiter
- Speed Limit Calibration — eVito 447 (electric)
- Mercedes AdBlue Reset: resetting the AdBlue system after component replacement or the remaining mileage warning