
Chip-Tools
Automatic Mazda vehicle detection and scanning of all modules with their DTCs
Ford/Mazda
Interface New
Diagnostics
Basic
⏱ 10-20 min
7 steps
On startup the software identifies the car connected to the AVDI on its own and goes through every module fitted, listing them with their stored DTCs. It is the first step of any dealer-level diagnostic session.
Required licences
- —
Hardware / cables
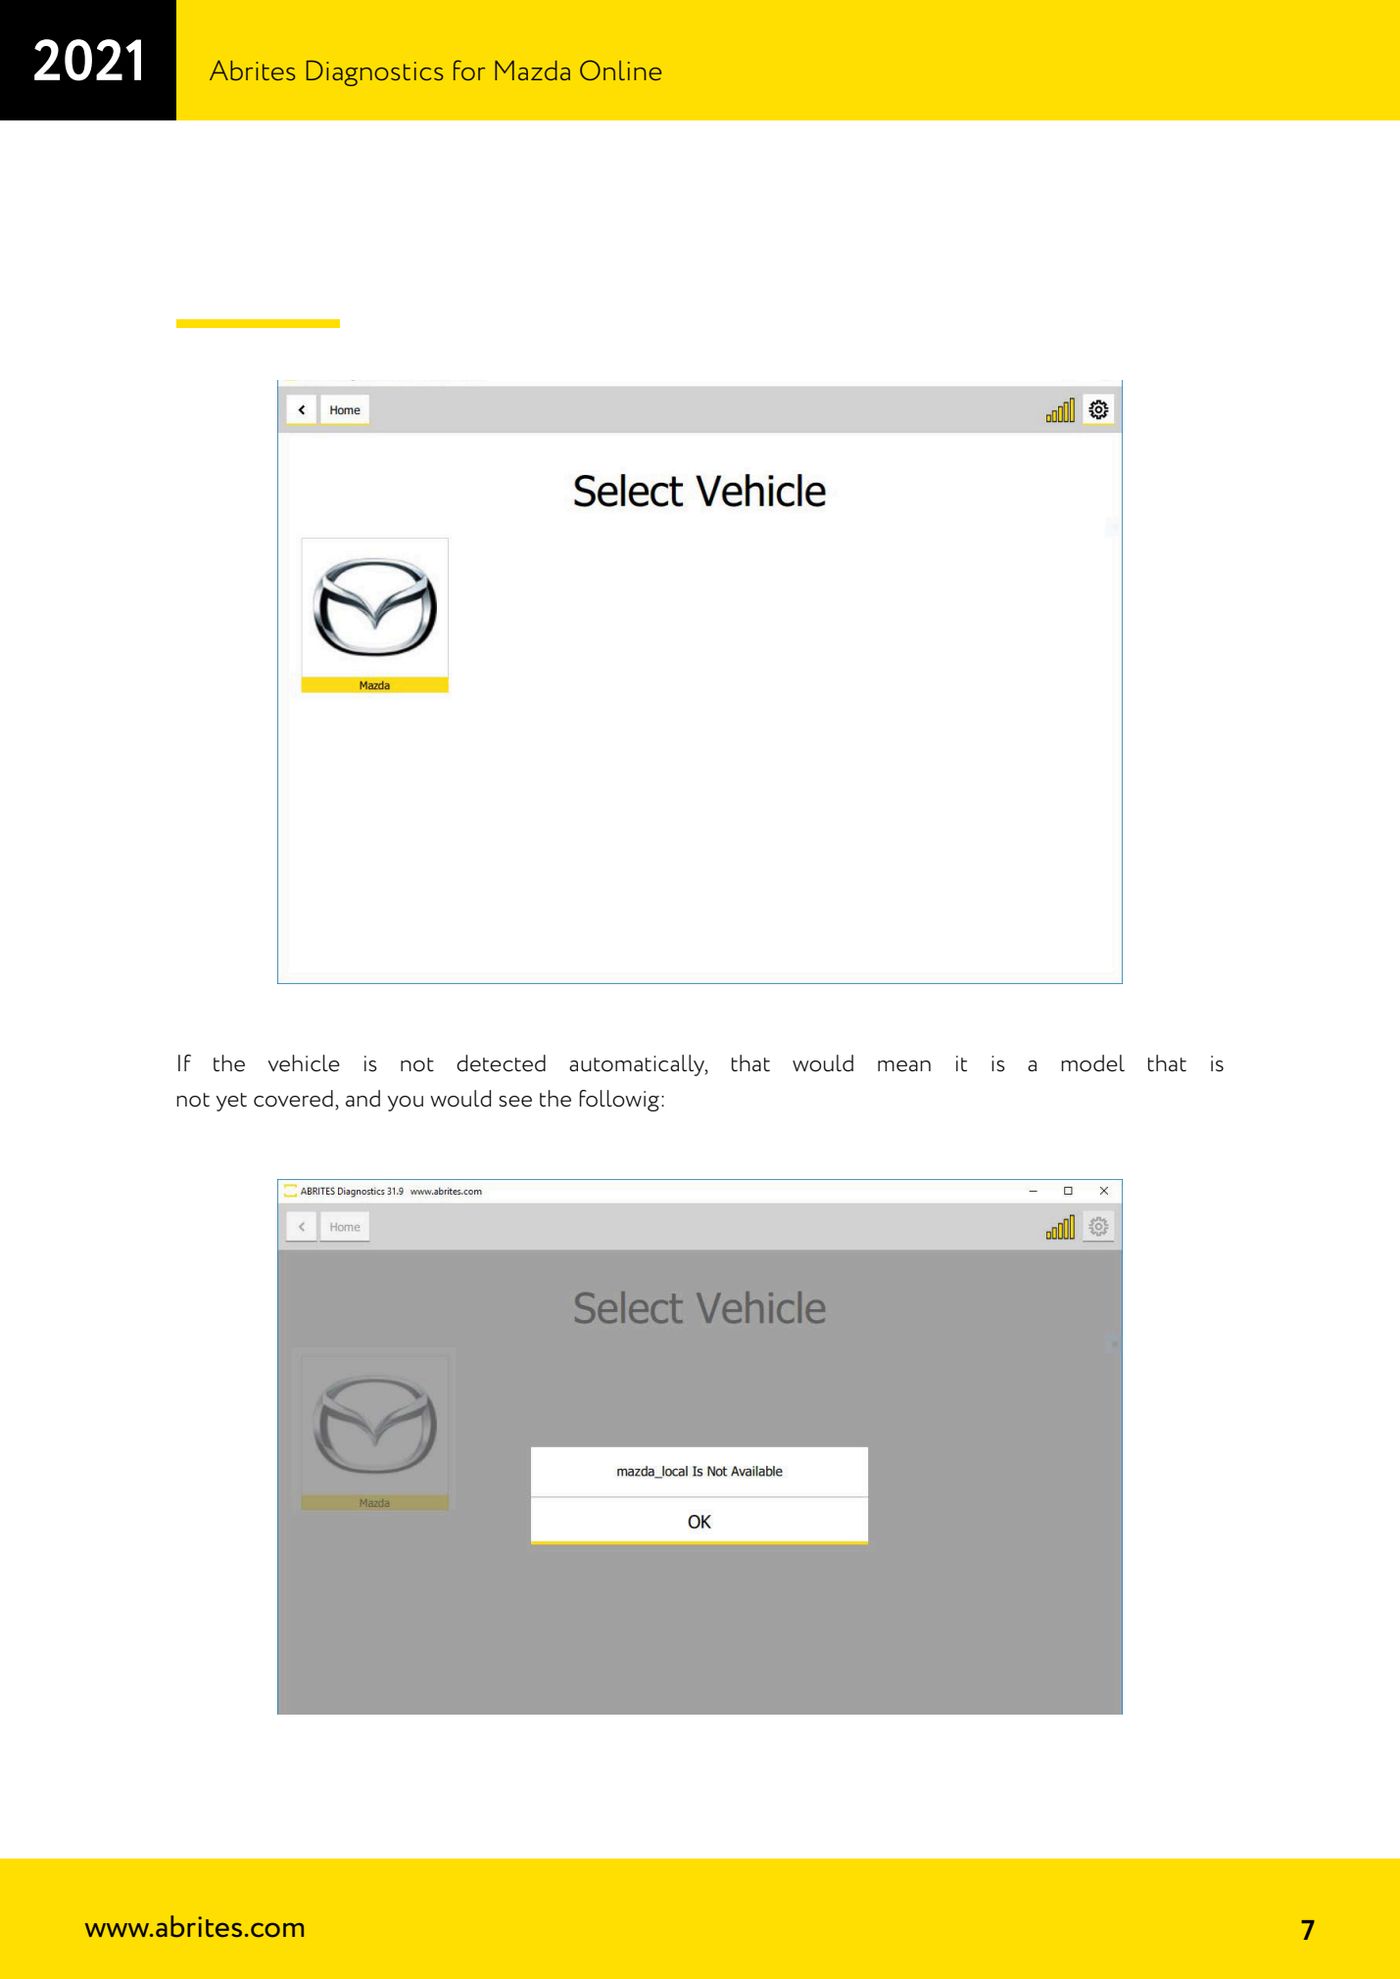
⚠ WarningIf the vehicle is not detected automatically it means the model is not covered by the application yet: do not force the procedure, the diagnostic session cannot continue on that car.
Procedure
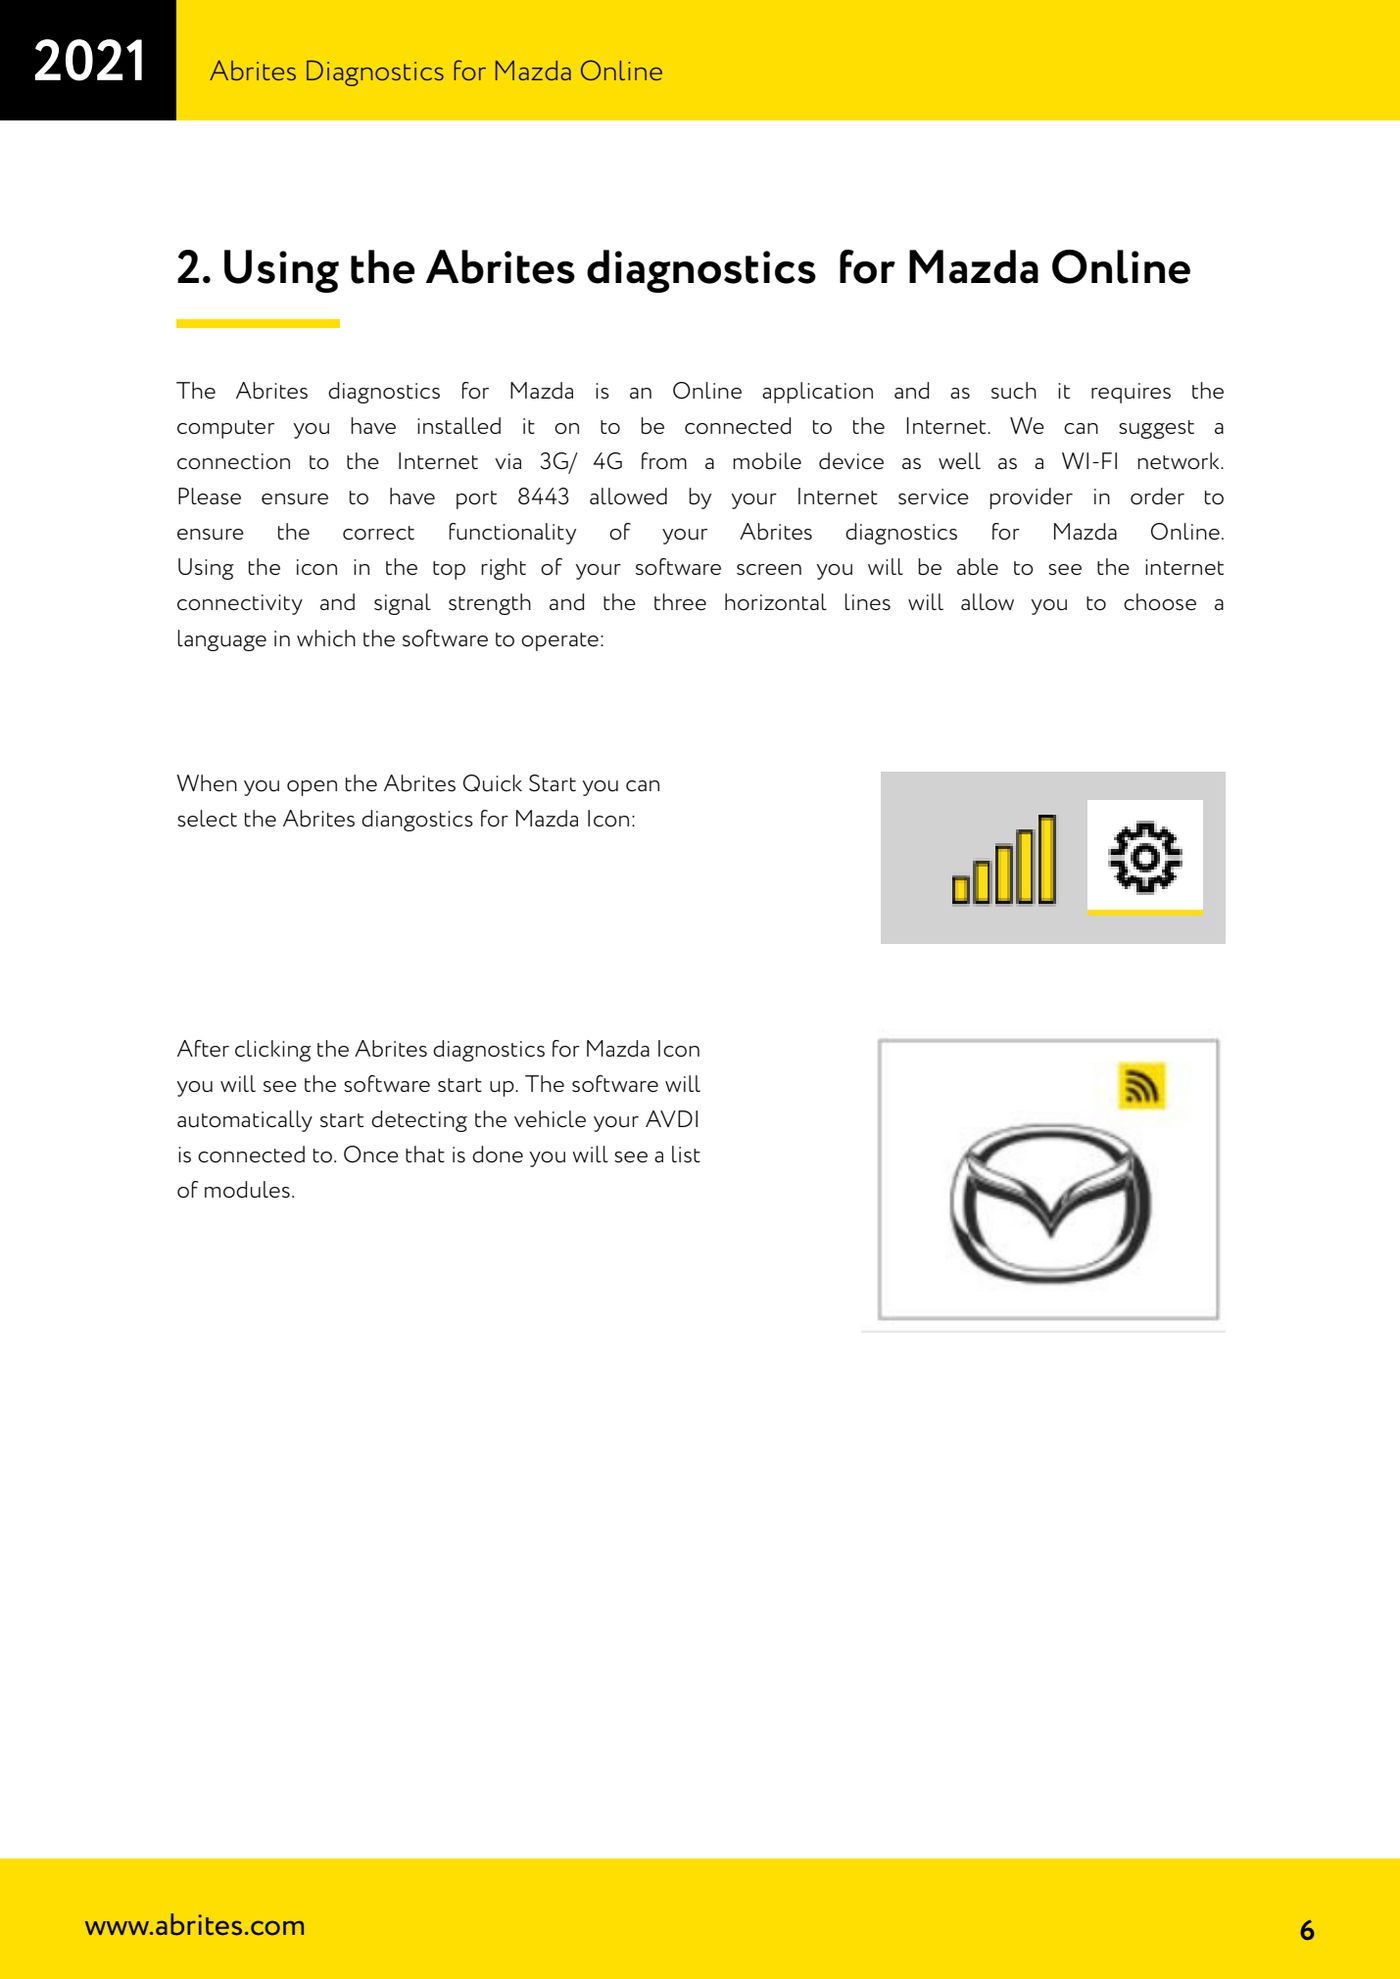
- Connect the AVDI to the Mazda's OBDII socket, turn the ignition ON and launch Abrites Diagnostics for Mazda from the Abrites Quick Start.
- Let the software work: as soon as it opens it starts detecting the vehicle the AVDI is connected to on its own. Do not unplug the interface during this stage.
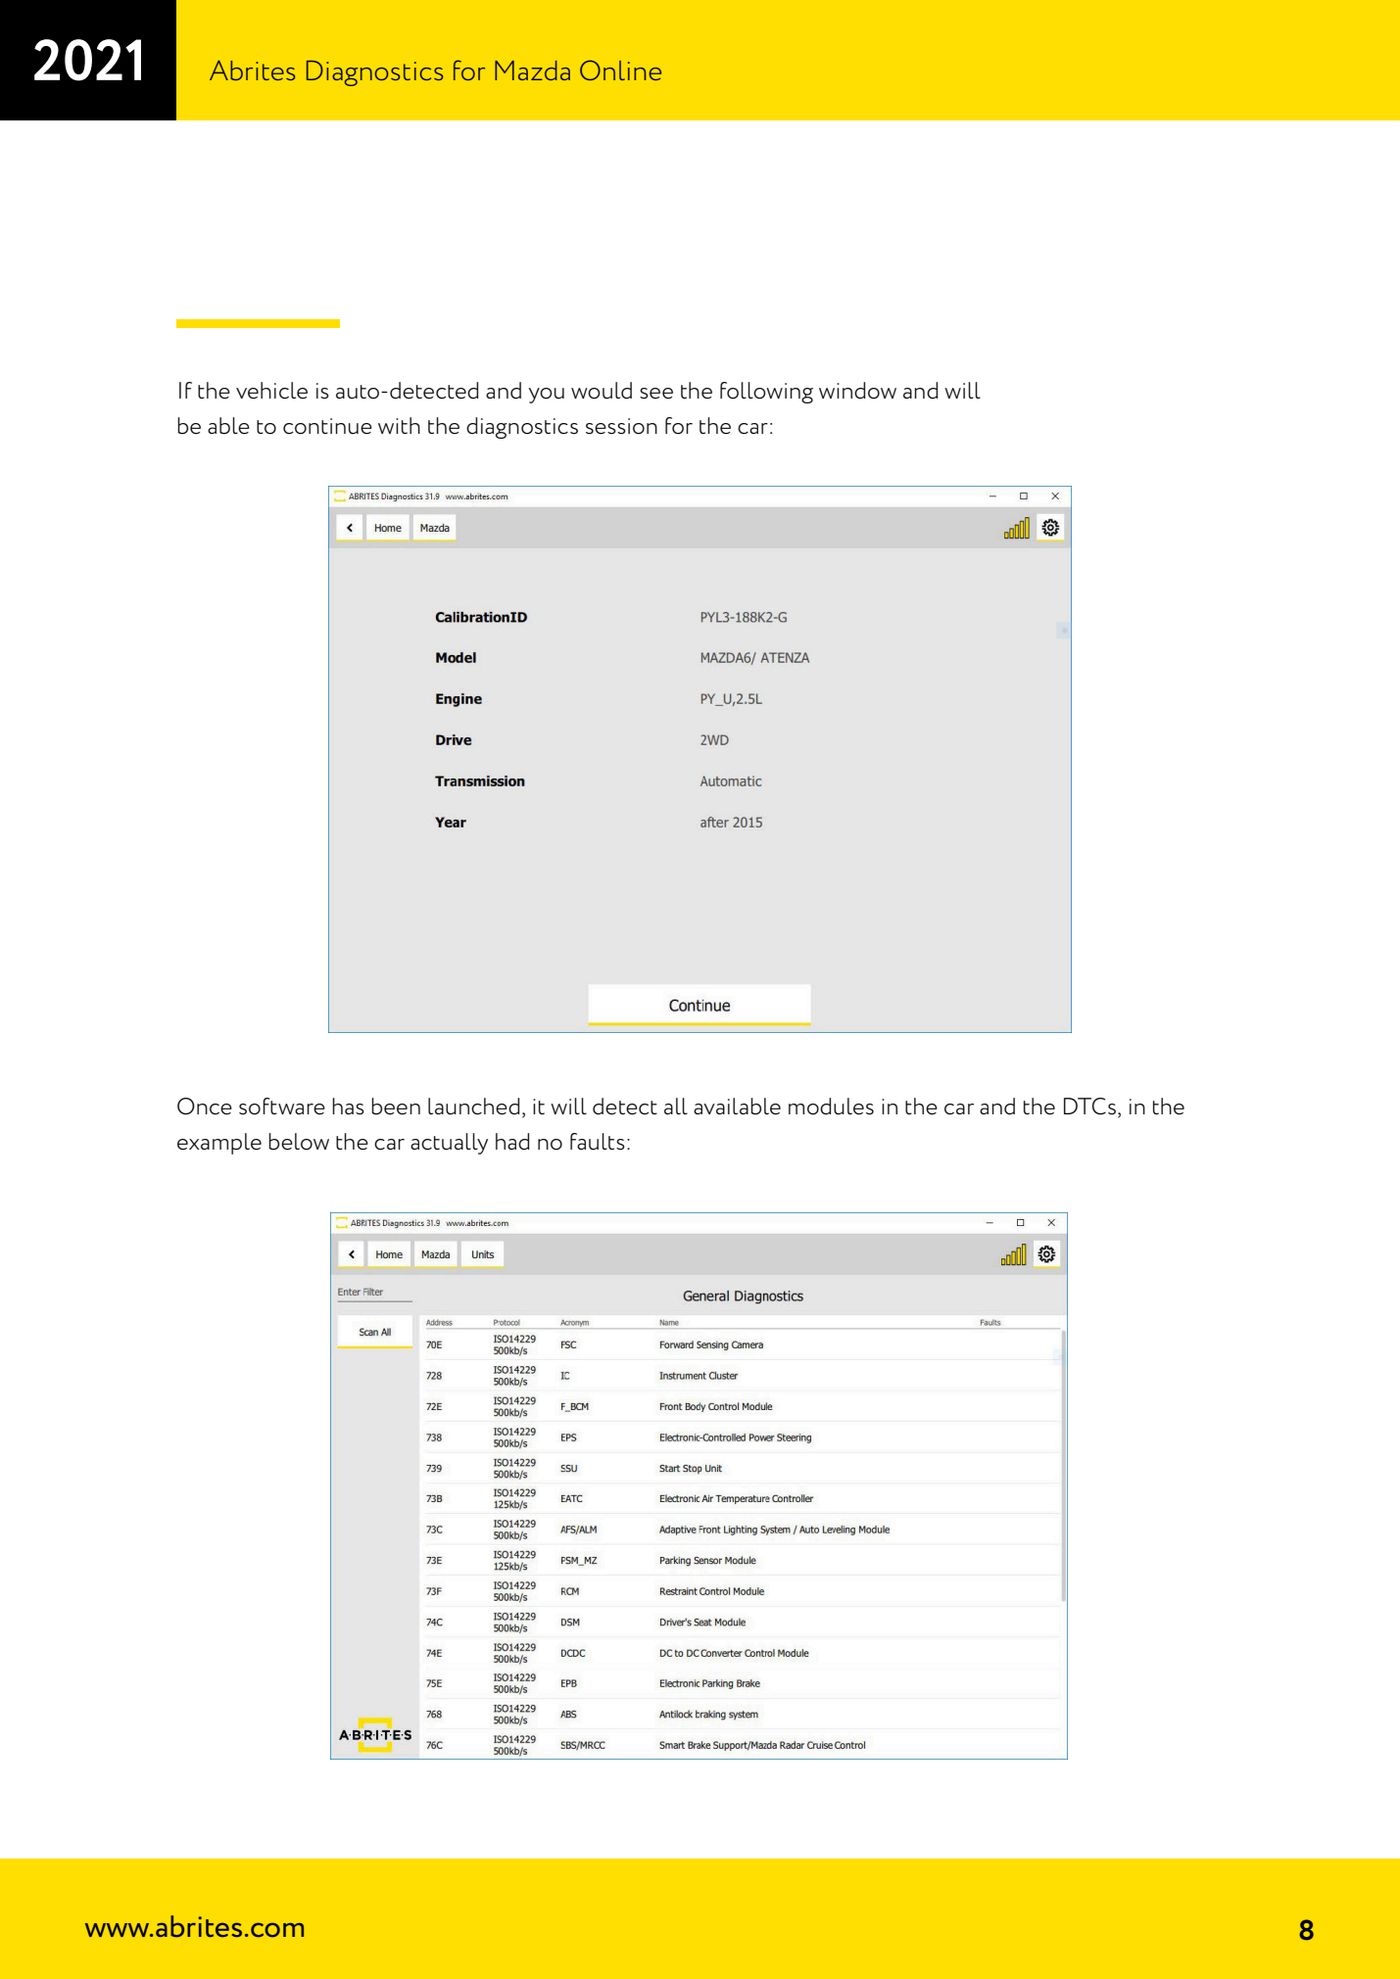
- If the window with the recognised vehicle data appears, confirm it to continue with the diagnostic session on the car.
- If instead the vehicle-not-detected warning appears, the model is not covered by the application yet: check the connection and the ignition, and if the problem persists report the model to Abrites support (support@abrites.com).
- Once identification is done, the software finds all the modules available on the car and shows the list along with the DTCs found.
- Read the list: next to each module you get the number of faults present. On a healthy car the list shows every module with no stored faults.
- Note down the modules with faults and move on to opening the individual module to read the codes and live values in detail.
Reference screenshots
Source: Manuale Abrites Diagnostics for Mazda Online, cap. 2 (p.6-8) · ⏱ estimated time 10-20 min
← All Abrites guides Hardware catalogue
More guides Ford/Mazda
- Starting Abrites Diagnostics for Ford/Mazda: vehicle context and ECU scanning ("Scan all")
- ECU identification, DTC read/clear and Live Data on Ford/Mazda
- Getting to the Ford/Mazda "Special Functions": Memory Read/Write and Key Learning
- PATS Key Learning: adding keys on Ford/Mazda (including with the alarm triggered)
- Key programming on Mazda CX-30 and Mazda 3 from 2019 with special function MZ001
- Ford key programming from 2021 (F-150, Maverick, Mustang Mach-E, Transit): incode from the outcode or bench read of the BCM with the ZN085
- PATS Erase All Keys: erasing all keys from the Ford/Mazda PATS memory
- PATS Initialization: matching the PCM to the instrument cluster (IPC/HEC), BCM or FIP on Ford/Mazda
- Spare Key Programming and Unlimited Key Mode: enabling/disabling Ford/Mazda key programming
- PATS OUT/IN code calculator for Ford/Mazda IDS (SINGLE xx40 and DOUBLE xx44 outcodes)
- VID block (Vehicle Identification Data) in the Ford/Mazda PCM: reading and configuring parameters
- Supported protocols and OBDII pins on Ford/Mazda: HS-CAN, MS-CAN, K-Line and J1850 PWM