
Chip-Tools
Connecting the AVDI to Suzukis with the 6-pin diagnostic connector: DB9 and DB25 pinout
Moto
Interface Classic
Hardware / Connections
Medium
⏱ 15-30 min
6 steps
Unlike cars, bikes, snowmobiles and water scooters have no unified diagnostic connector. This guide explains how to find and connect the 6-pin connector used by most Suzuki machines and how to get the signal to the AVDI through DB9 and DB25.

Procedure
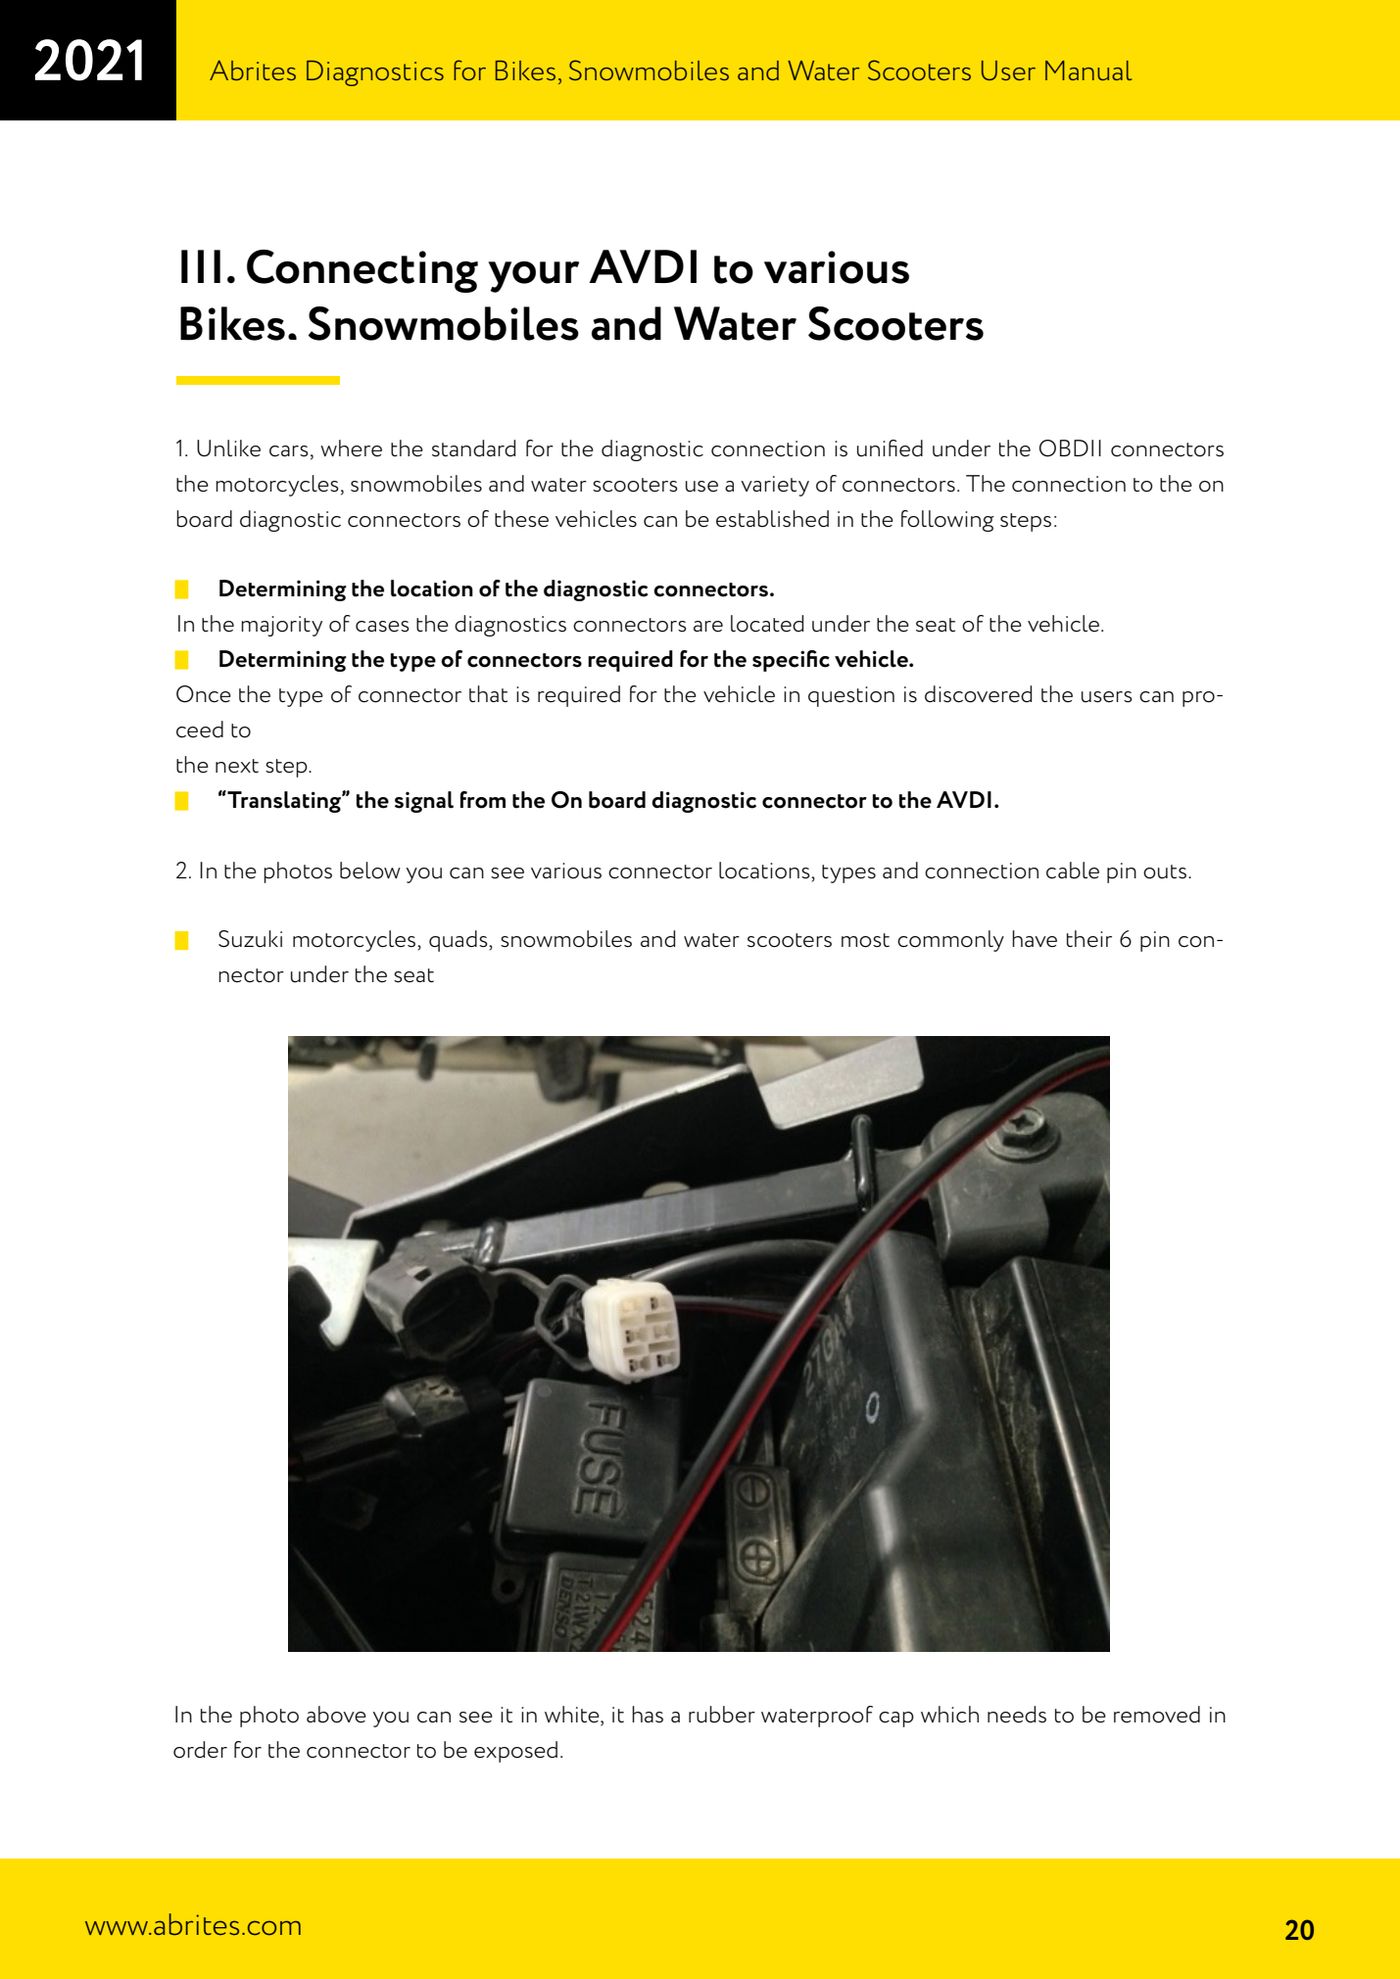
- Find the diagnostic connector: on most machines it is under the seat. On Suzukis (bikes, quads, snowmobiles, water scooters) it is typically the white 6-pin connector under the seat.
- Remove the waterproof rubber cap protecting the connector to expose the contacts.
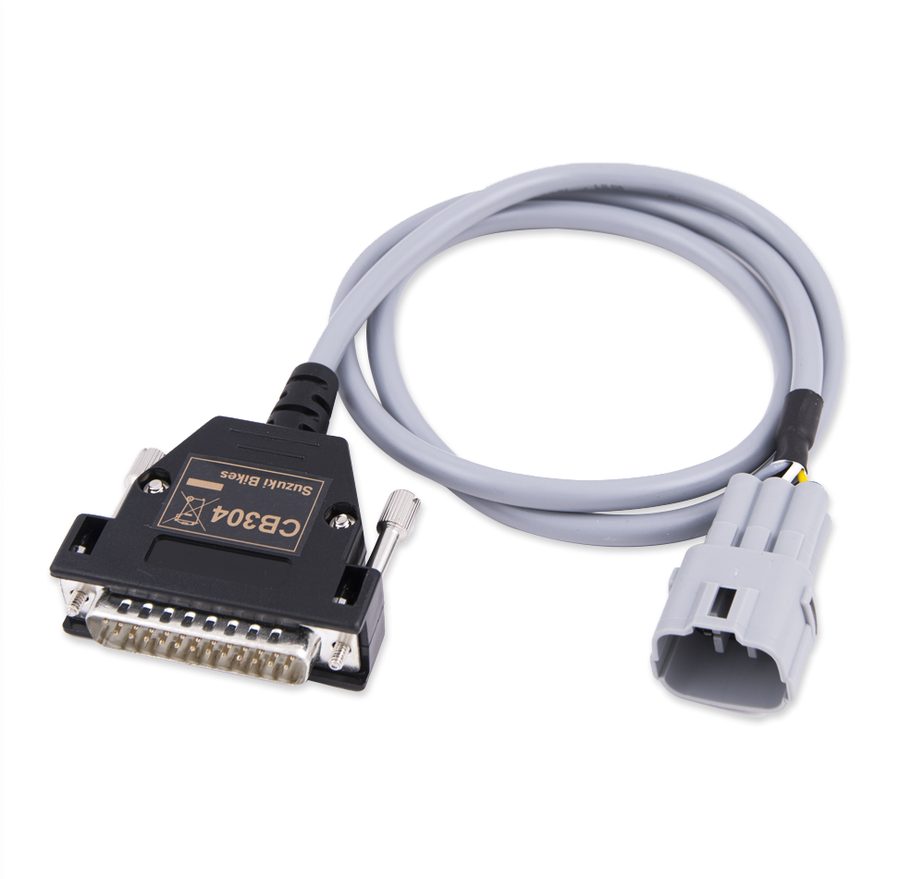
- Check which connector type the specific model needs and prepare the right cable (for 6-pin Suzukis, the Abrites CB304 cable).
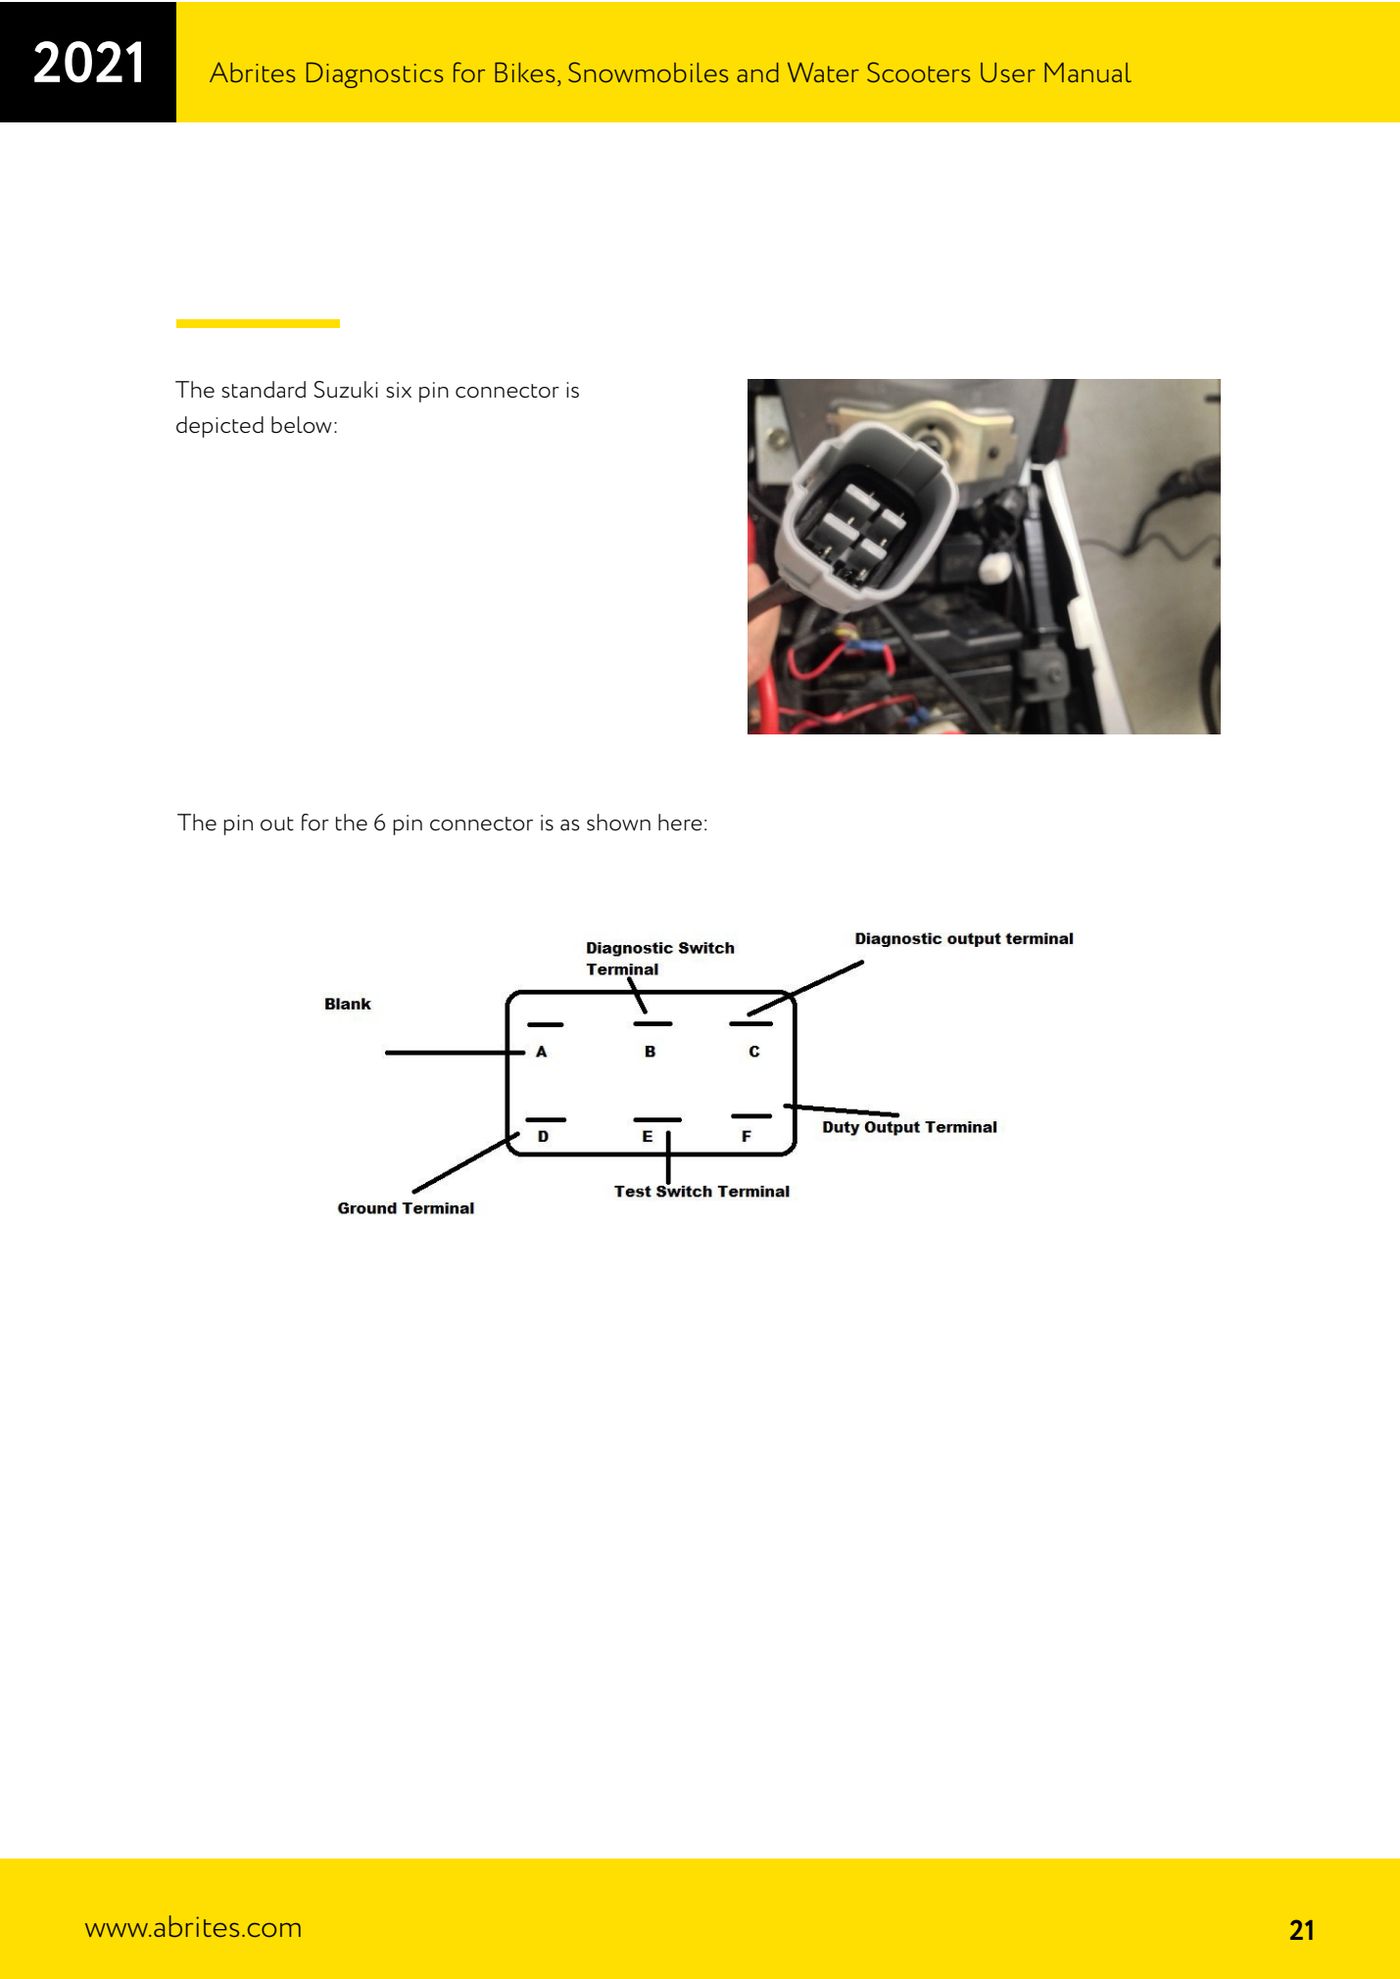
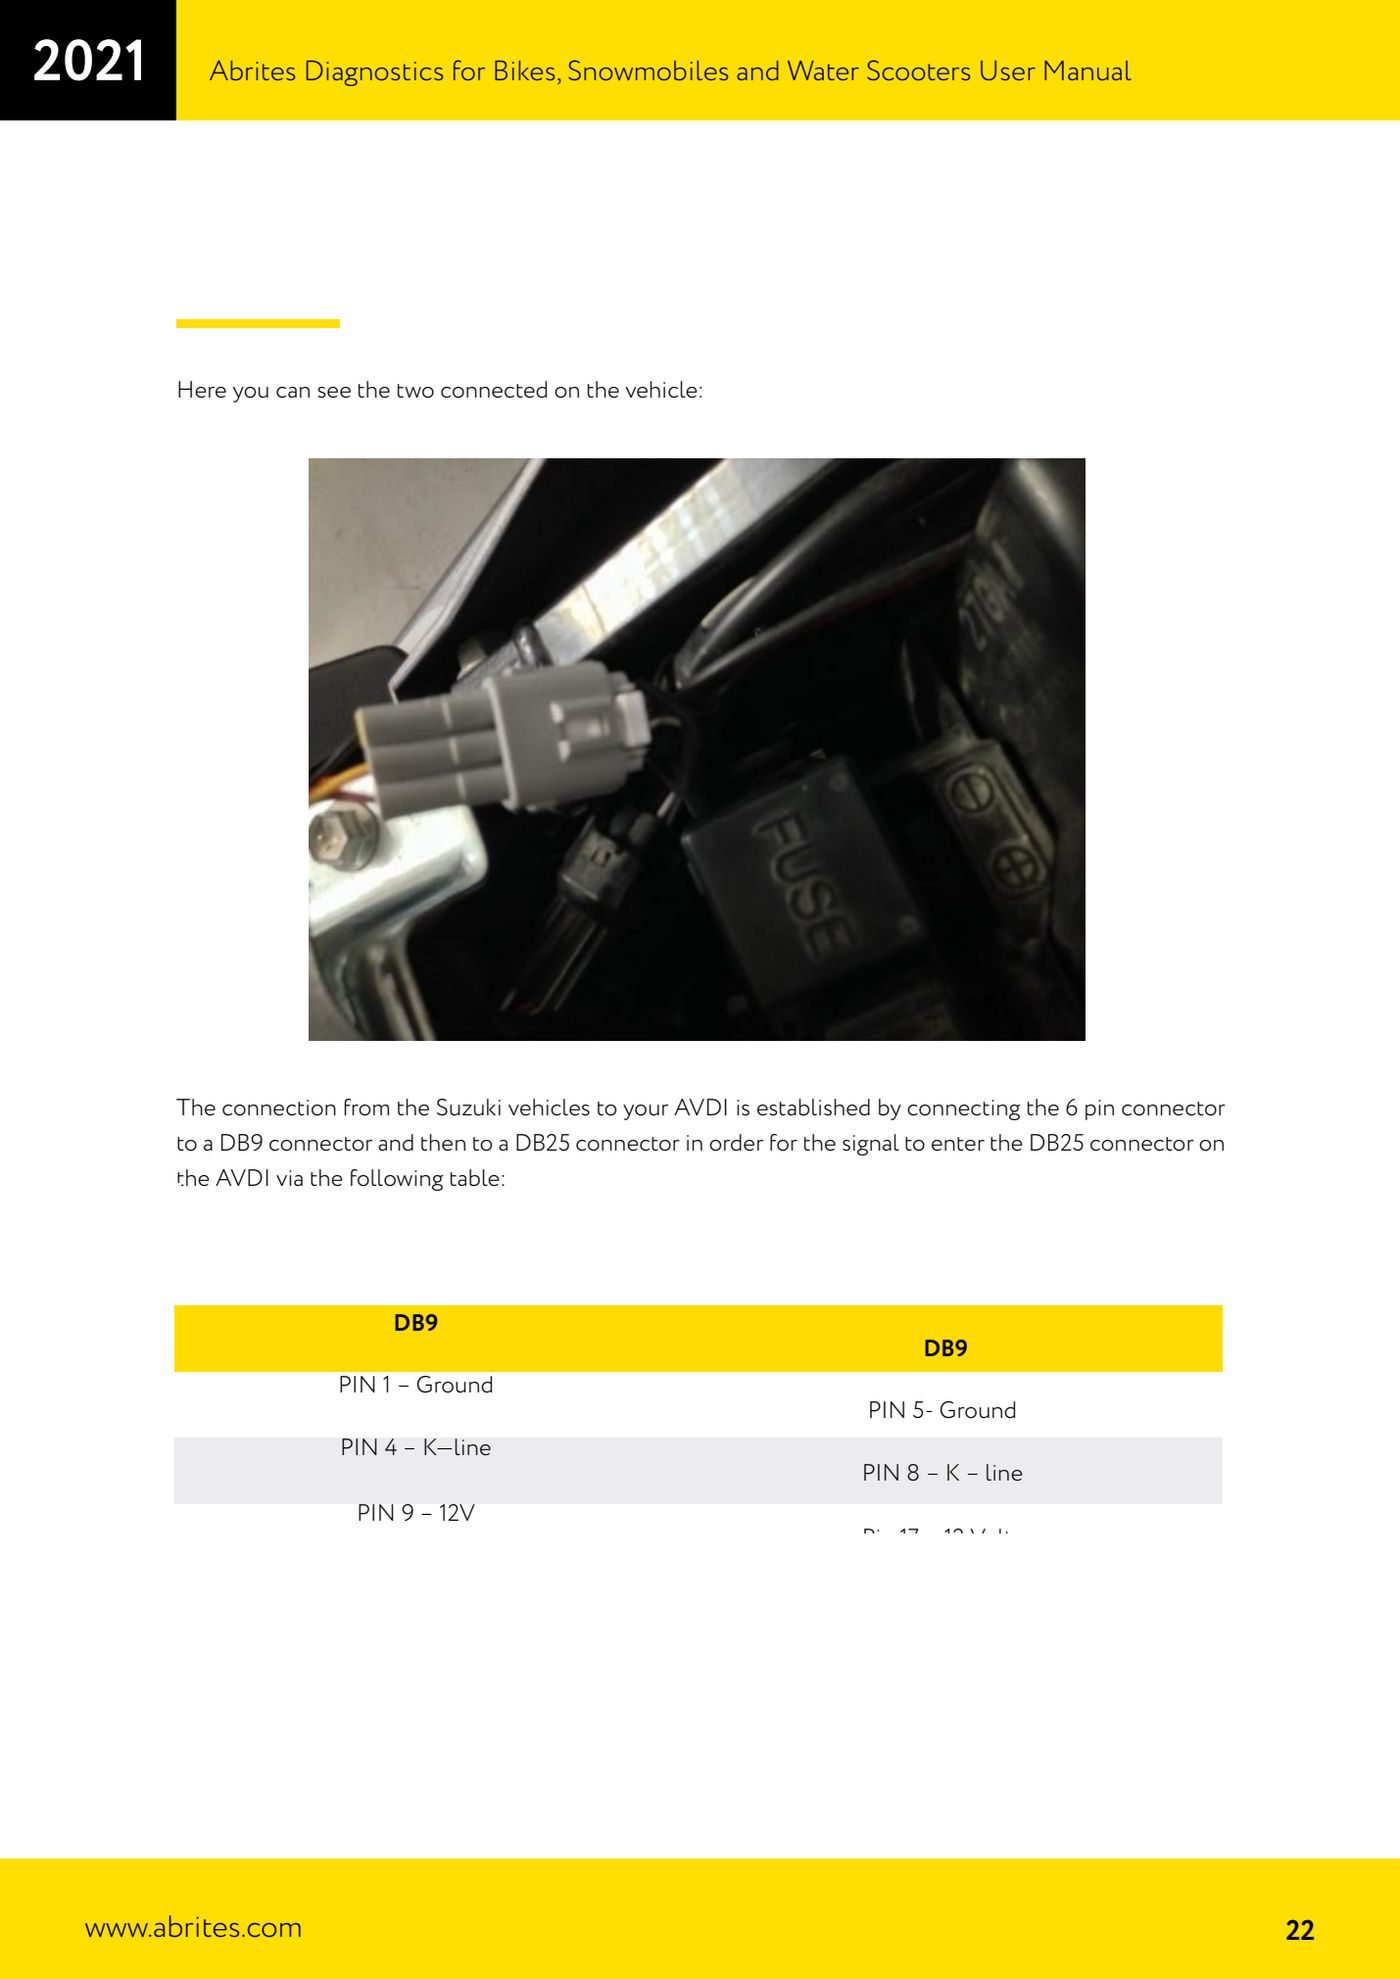
- Wire the vehicle's 6-pin connector to a DB9 connector following the pinout: PIN 1 Ground, PIN 5 Ground, PIN 4 K-line, PIN 8 K-line, PIN 9 12V supply.
- Take the signal from the DB9 to the AVDI's DB25 connector; on the DB25 side, pin 17 is the 12 Volt supply.
- Plug the DB25 into the AVDI and the AVDI into the PC, then open the software and select the vehicle to check communication.
Reference screenshots
Source: Manuale Abrites Diagnostics per moto, snowmobili e moto d'acqua (bikes), cap. III Connecting your AVDI (p.20-22) · ⏱ estimated time 15-30 min
← All Abrites guides Hardware catalogue
More guides Moto
- Starting Abrites Diagnostics for bikes, snowmobiles and water scooters and setting "Debug logging" and language
- Standard bike diagnostics: vehicle selection, module scan, "Identification", "Read DTC" and "Clear DTC"
- Reading live parameters with "Data Display" ("List" and "Graph" views) and sending a "Custom Request"
- Programming bike keys with Temic transponders: cloning or replacing with "Key learning"
- Key programming for BMW bikes with Hitag 2 transponders and the TAG programmer
- Programming a Harley-Davidson spare key with the CB305 cable and the FOB Serial Number
- Reading and writing ECU configuration data: "Read ConfData", "Update ConfData", "Load from file" and "Make Virgin"
- Diagnostic socket location and connections for BMW (10-pin), Harley-Davidson (4/6-pin), Aprilia (6-pin) and Kawasaki
- Additional Abrites cables for bikes: CB008, CB301, CB302, CB303, CB304, CB305, CB306
- Troubleshooting connection problems and sending log files to Abrites support
- Recovering the CAS PIN on BMW R1200GS and other recent models with CAS4: opening the module and reading the EEPROM