
Chip-Tools
DSM: direct connections with CB034 or ABProg + ZN086 (RST pin lifted) and the legacy procedure
Mercedes
Interface New
Hardware / Connections
Advanced
⏱ 1-2 hours
10 steps
How to connect directly to the DSM module to read and program it: CB034 cable on the DSM connector, or the ZN086 adapter soldered to the PCB and run to the ABProg. Includes the full legacy sequence read - virgin - personalise - VIN.
Required licences
- —
Hardware / cables
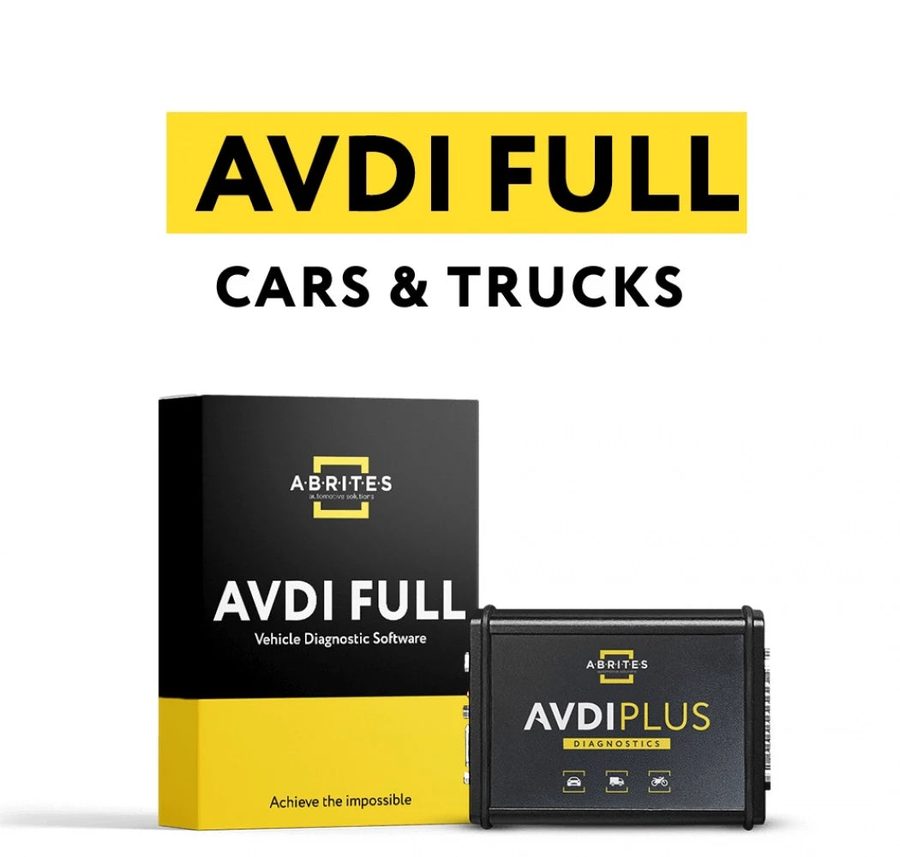
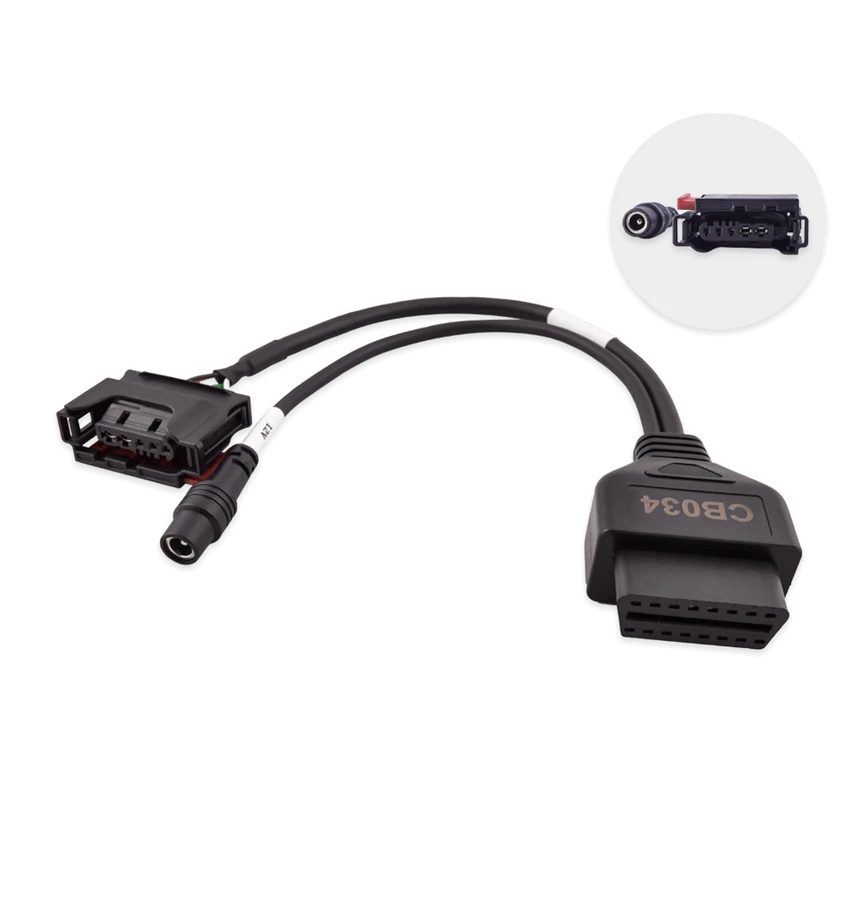
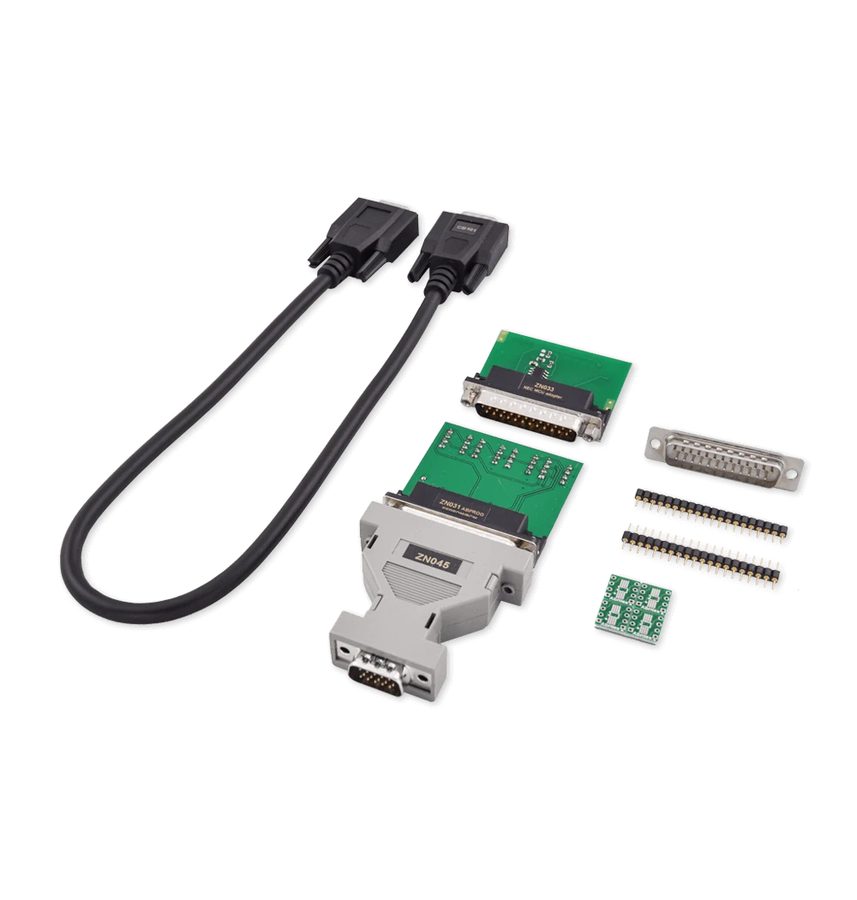
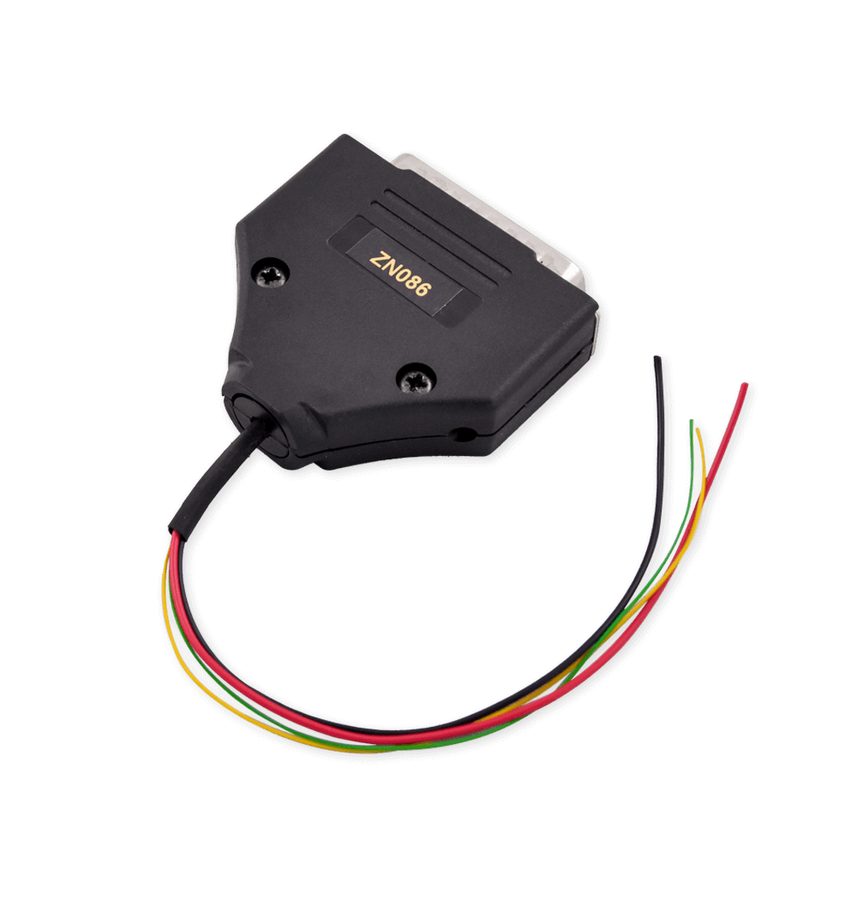
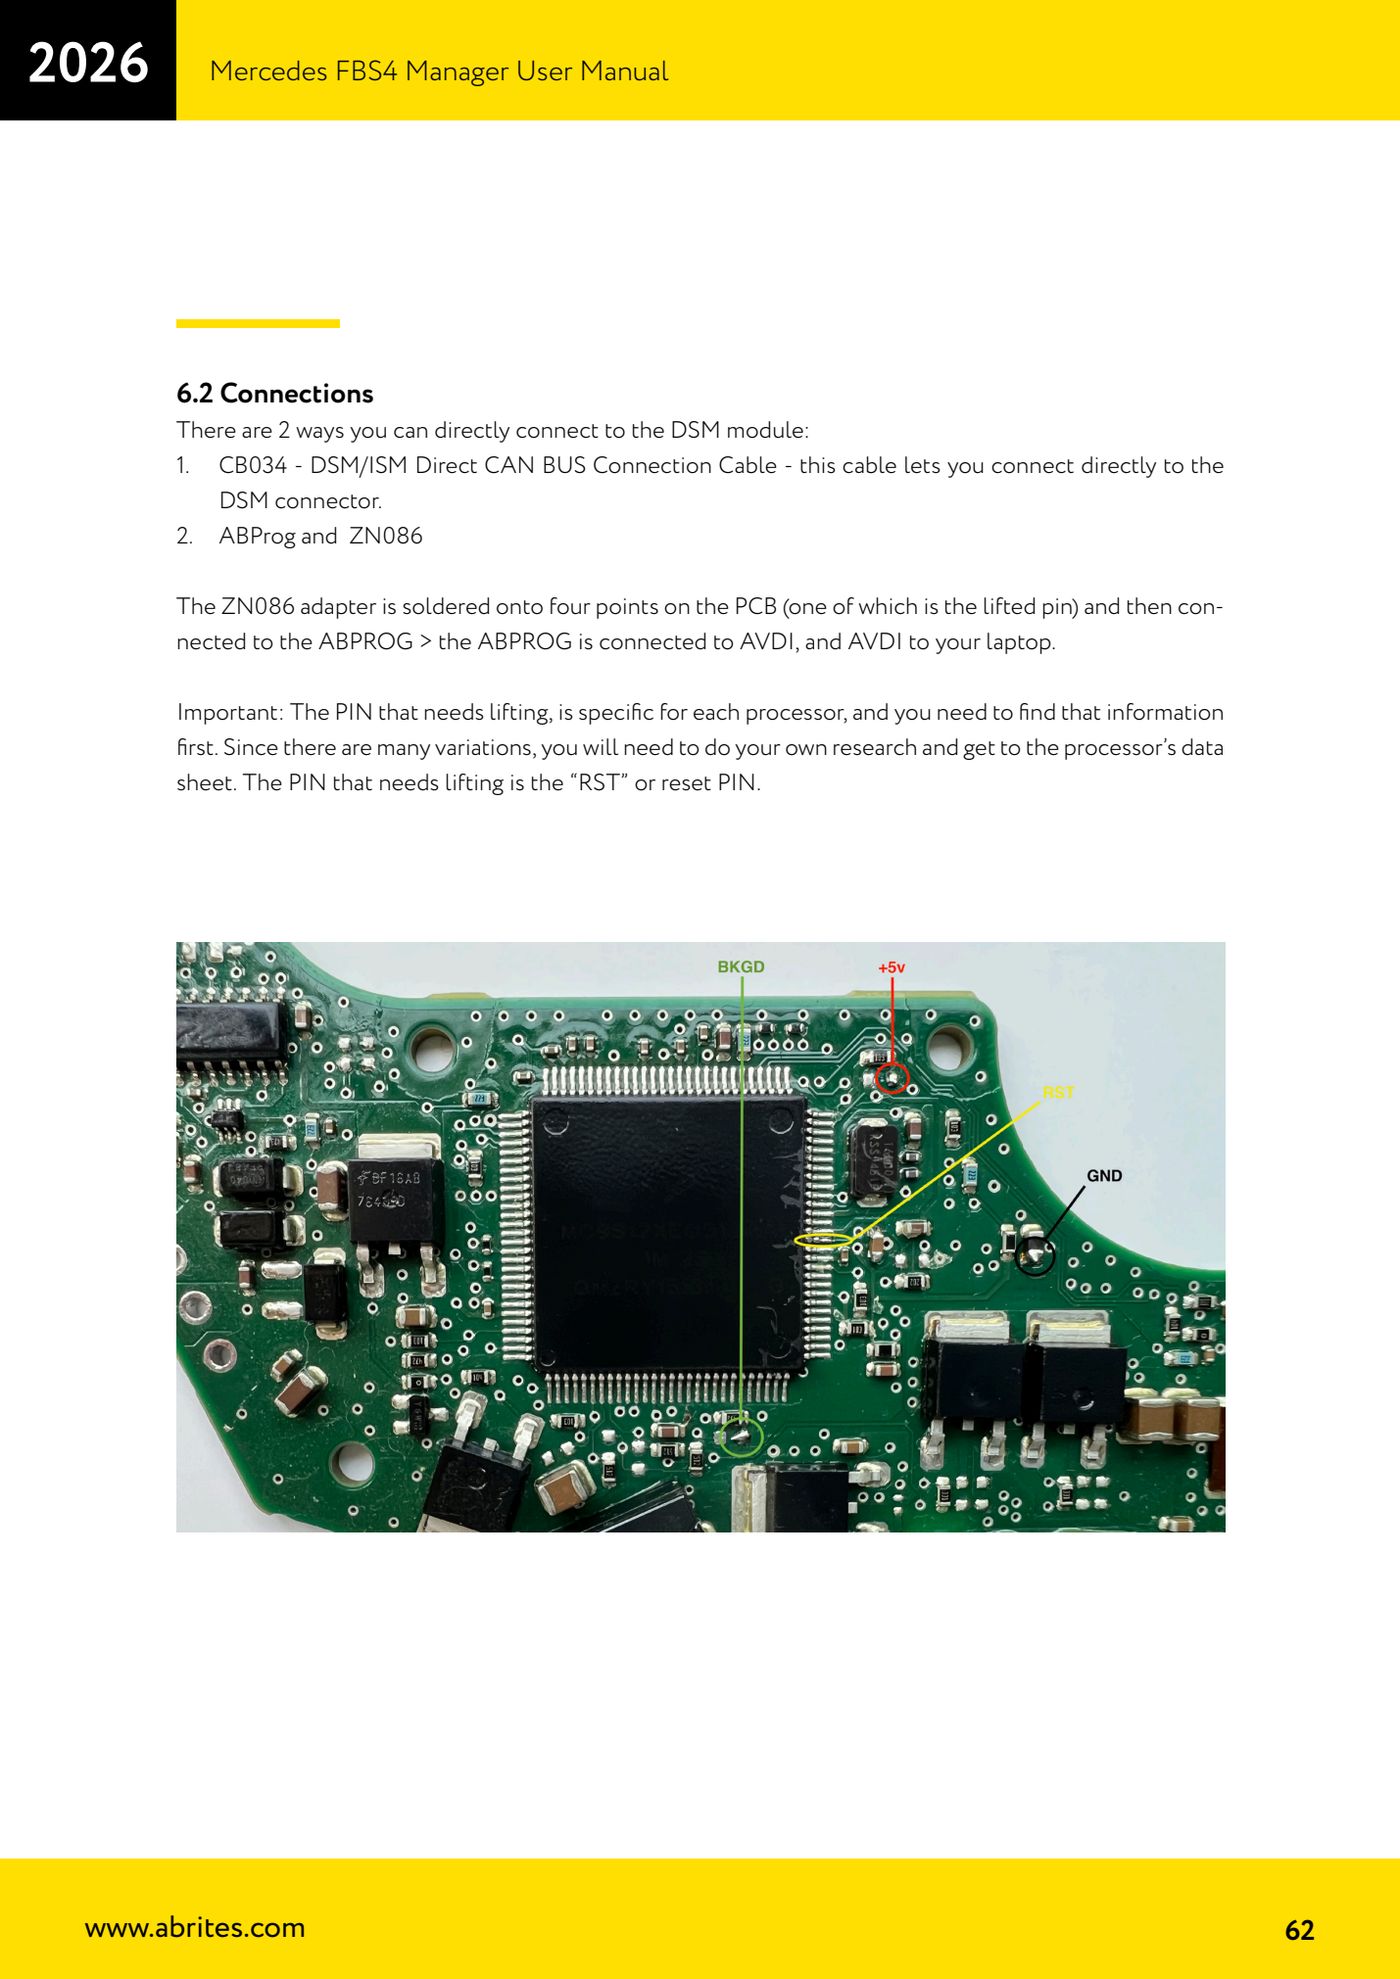
⚠ WarningThe ZN086 adapter is soldered to four points on the PCB, one of which is a pin that has to be lifted: that is the "RST" (reset) pin and it changes from processor to processor. There are a lot of variants, so identify the processor first and get its datasheet to know which pin to lift.
Procedure
- Option 1 - CB034: use the CB034 DSM/ISM Direct CAN BUS Connection Cable to connect straight to the DSM connector.
- Option 2 - ABProg and ZN086: identify the DSM processor, get the datasheet and locate the "RST" (reset) pin to be lifted.
- Solder the ZN086 adapter to the four points on the PCB, including the lifted RST pin.
- Connect the ZN086 to the ABPROG, the ABPROG to the AVDI and the AVDI to the laptop.
- READING - With the original DSM connected, open the FBS4 Manager, select "DSM" and press "Save": the software reads the data it needs and saves it to a file on the computer.
- Now connect the donor DSM and press "Info" to read the unit and check everything is sound (FBS4 Manager > DSM selection).
- Press "Virgin" to take the donor unit to virgin state.
- Press "Personalize": the software will ask you to load the file saved earlier from the original DSM.
- When the job is done press "Info" again and confirm the unit shows as personalised and activated.
- As the last step press the "VIN" button: in the window that opens, write the correct VIN of the car into the unit.
Reference screenshots
Source: Manuale Mercedes FBS4 Manager, parte 2 di 2, cap. 6.2 e 6.3 (p.62-63) · ⏱ estimated time 1-2 hours
← All Abrites guides Hardware catalogue
More guides Mercedes
- Diagnostics and vehicle selection (VIN, chassis, over 1300 modules)
- Mercedes-Benz bus and truck diagnostics
- Mercedes Coding (VMAX, side sensors, parameters)
- Mercedes ECU Flashing (CFF files)
- Mercedes FBS4 Manager (722.9 and CRD3 renew, VIN change)
- Smart Functions (DPF mileage reset, DPF ash, VIM, seat belt alarm, sun roof, 360° cameras)
- FBS4 odometer correction with MN030 + emulators (EM008/EM014/EM018)
- Exhaust flaps — exhaust valve control
- CPC Torque limiter — torque limit
- VMax calibration — speed limiter
- Speed Limit Calibration — eVito 447 (electric)
- Mercedes AdBlue Reset: resetting the AdBlue system after component replacement or the remaining mileage warning